11 Minutes
ADB Debugging: What It Is and How to Use It on Android
Fix Bugs Faster! Log Collection Made Easy
Modern app users don’t tolerate glitches — speed and stability are non-negotiable. Debugging across multiple Android devices, however, can be tedious if done manually. That’s why developers rely on Android Debug Bridge (ADB) to streamline development.
With ADB, we can:
- Test apps directly on connected devices.
- Transfer files, install builds, and capture logs quickly.
- Troubleshoot issues over USB or Wi-Fi without manual setup.
In this guide, we’ll cover what ADB is, how it works, installation steps, and the most useful commands for debugging Android applications.
Table of Contents
What is ADB (Android Debug Bridge)?
ADB (Android Debug Bridge) is a command-line tool that connects Android devices to a computer. It lets us send commands, install apps, transfer files, and debug applications. This makes it a powerful utility for developers who need more control than the standard Android interface provides.
With ADB, we can capture logs, reset devices, or issue shell commands to simulate real scenarios. It works over USB or Wi-Fi, offering flexibility for different workflows. Overall, ADB is a core tool that speeds up testing, troubleshooting, and development for Android applications.
What is ADB Debugging?
ADB debugging is the process of using Android Debug Bridge to connect a device with a computer for development and testing. It enables us to send commands, install or remove apps, transfer files, and view detailed system logs that show how apps behave.
Unlike standard usage, ADB debugging gives developers deeper access to performance data, crashes, and errors not visible in the normal interface. This makes it much easier to identify issues and test fixes quickly.
By working over USB or Wi-Fi, ADB debugging supports flexible workflows. It’s an essential tool for troubleshooting and building stable, reliable Android applications.
How ADB Works (Architecture Overview)
ADB follows a client–server architecture to connect Android devices with a computer.
It is made up of three parts:
- the client, which runs commands;
- the server, which manages connections;
- and the daemon (adbd), which executes commands on the device.
This setup ensures reliable communication and allows developers to control multiple devices or emulators from one workstation.
Each layer has a specific role, creating a seamless bridge between our development tools and the Android system.
Client to Server Communication Protocol
The client is the part of ADB we interact with in the command line. When we type a command, it is first sent to the server process running in the background on the computer.
The server listens for these commands, checks for connected devices, and determines how to forward the request. This step ensures that commands are routed to the correct target when multiple devices are attached.
Server to Daemon (adbd) Communication
Once the server receives the command, it forwards it to the adbd daemon on the Android device.
The daemon runs as a background process and is responsible for executing requests such as file transfers, app installs, or shell commands.
After processing, the daemon sends a response back through the server to the client.
This cycle makes ADB a reliable bridge for testing, debugging, and managing Android devices.
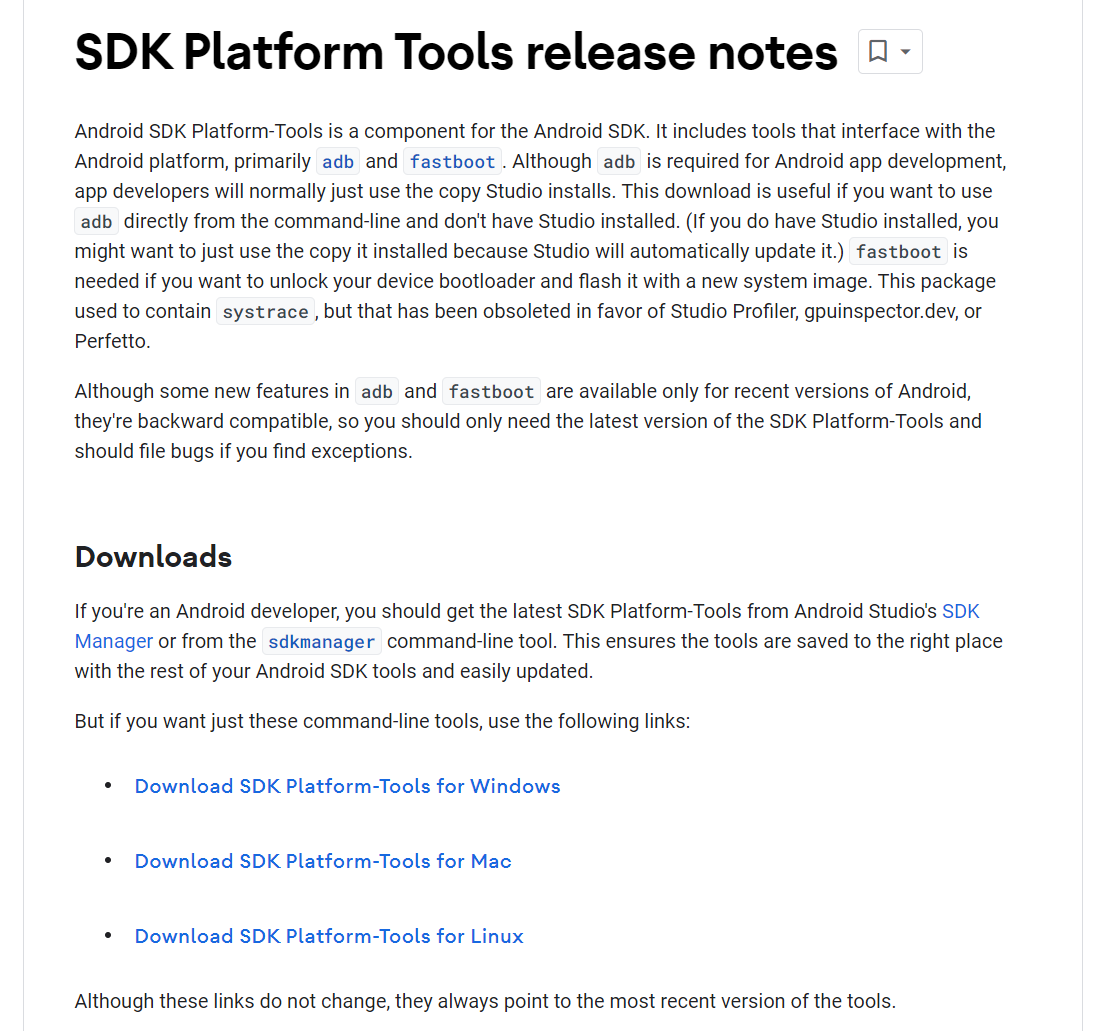
How to Install ADB
The easiest way to get ADB is by downloading the Android SDK Platform Tools package.
If you prefer, you can also install the full Android Studio IDE, which includes ADB and the rest of the Android SDK.
How to install ADB on PC / Windows
- Download the SDK Platform Tools for Windows and unzip them.
- Move the folder to a simple location like
C:\\adb. - Open Command Prompt, navigate to the folder, and run
adb versionto check.
How to install ADB on Mac
- Download the SDK Platform Tools for Mac and extract them.
- Place the folder in a location such as
~/adb. - Open Terminal, go to that folder, and run
./adb versionto confirm.
How to Install ADB on Linux
On most Linux distributions, ADB can be installed quickly via the package manager:
Debian /Ubuntu
sudo apt update
sudo apt install android-tools-adb android-tools-fastboot
Fedora
sudo dnf install android-toolsAlternatively, we can download the SDK Platform Tools for Linux and extract them manually, then run ./adb version from the folder.
Add ADB to Your System PATH (Optional, but Recommended)
By default, ADB only works if we navigate into its folder.
Adding ADB to the system PATH lets us run commands from any directory.
- Windows: update Environment Variables to include the ADB folder.
- Mac: edit
.zshrcor.bash_profileto add the folder path.
This step isn’t required but makes working with ADB much faster and more convenient.
How to Enable ADB Debugging (on Android Phones)
Before we can use ADB, debugging must be enabled on the Android device. This requires turning on Developer Options and then activating USB Debugging.
Once enabled, the computer and device can communicate through ADB commands.
Enable Developer Options
On most Android phones, go to Settings > About phone.
Find the Build number entry and tap it seven times.
You may be asked for your PIN or password.
After this, a new Developer options menu will appear in Settings.
Enable USB Debugging in Developer Options
Open Settings > Developer options and scroll until you see USB debugging.
Toggle it on and confirm the prompt. Your device can now connect to a computer for ADB commands.
How to Set Up ADB
Once ADB is installed and debugging is enabled on your Android device, the next step is to establish a connection between your computer and the device.
ADB supports both USB and Wi-Fi connections, giving developers flexibility for testing and troubleshooting.
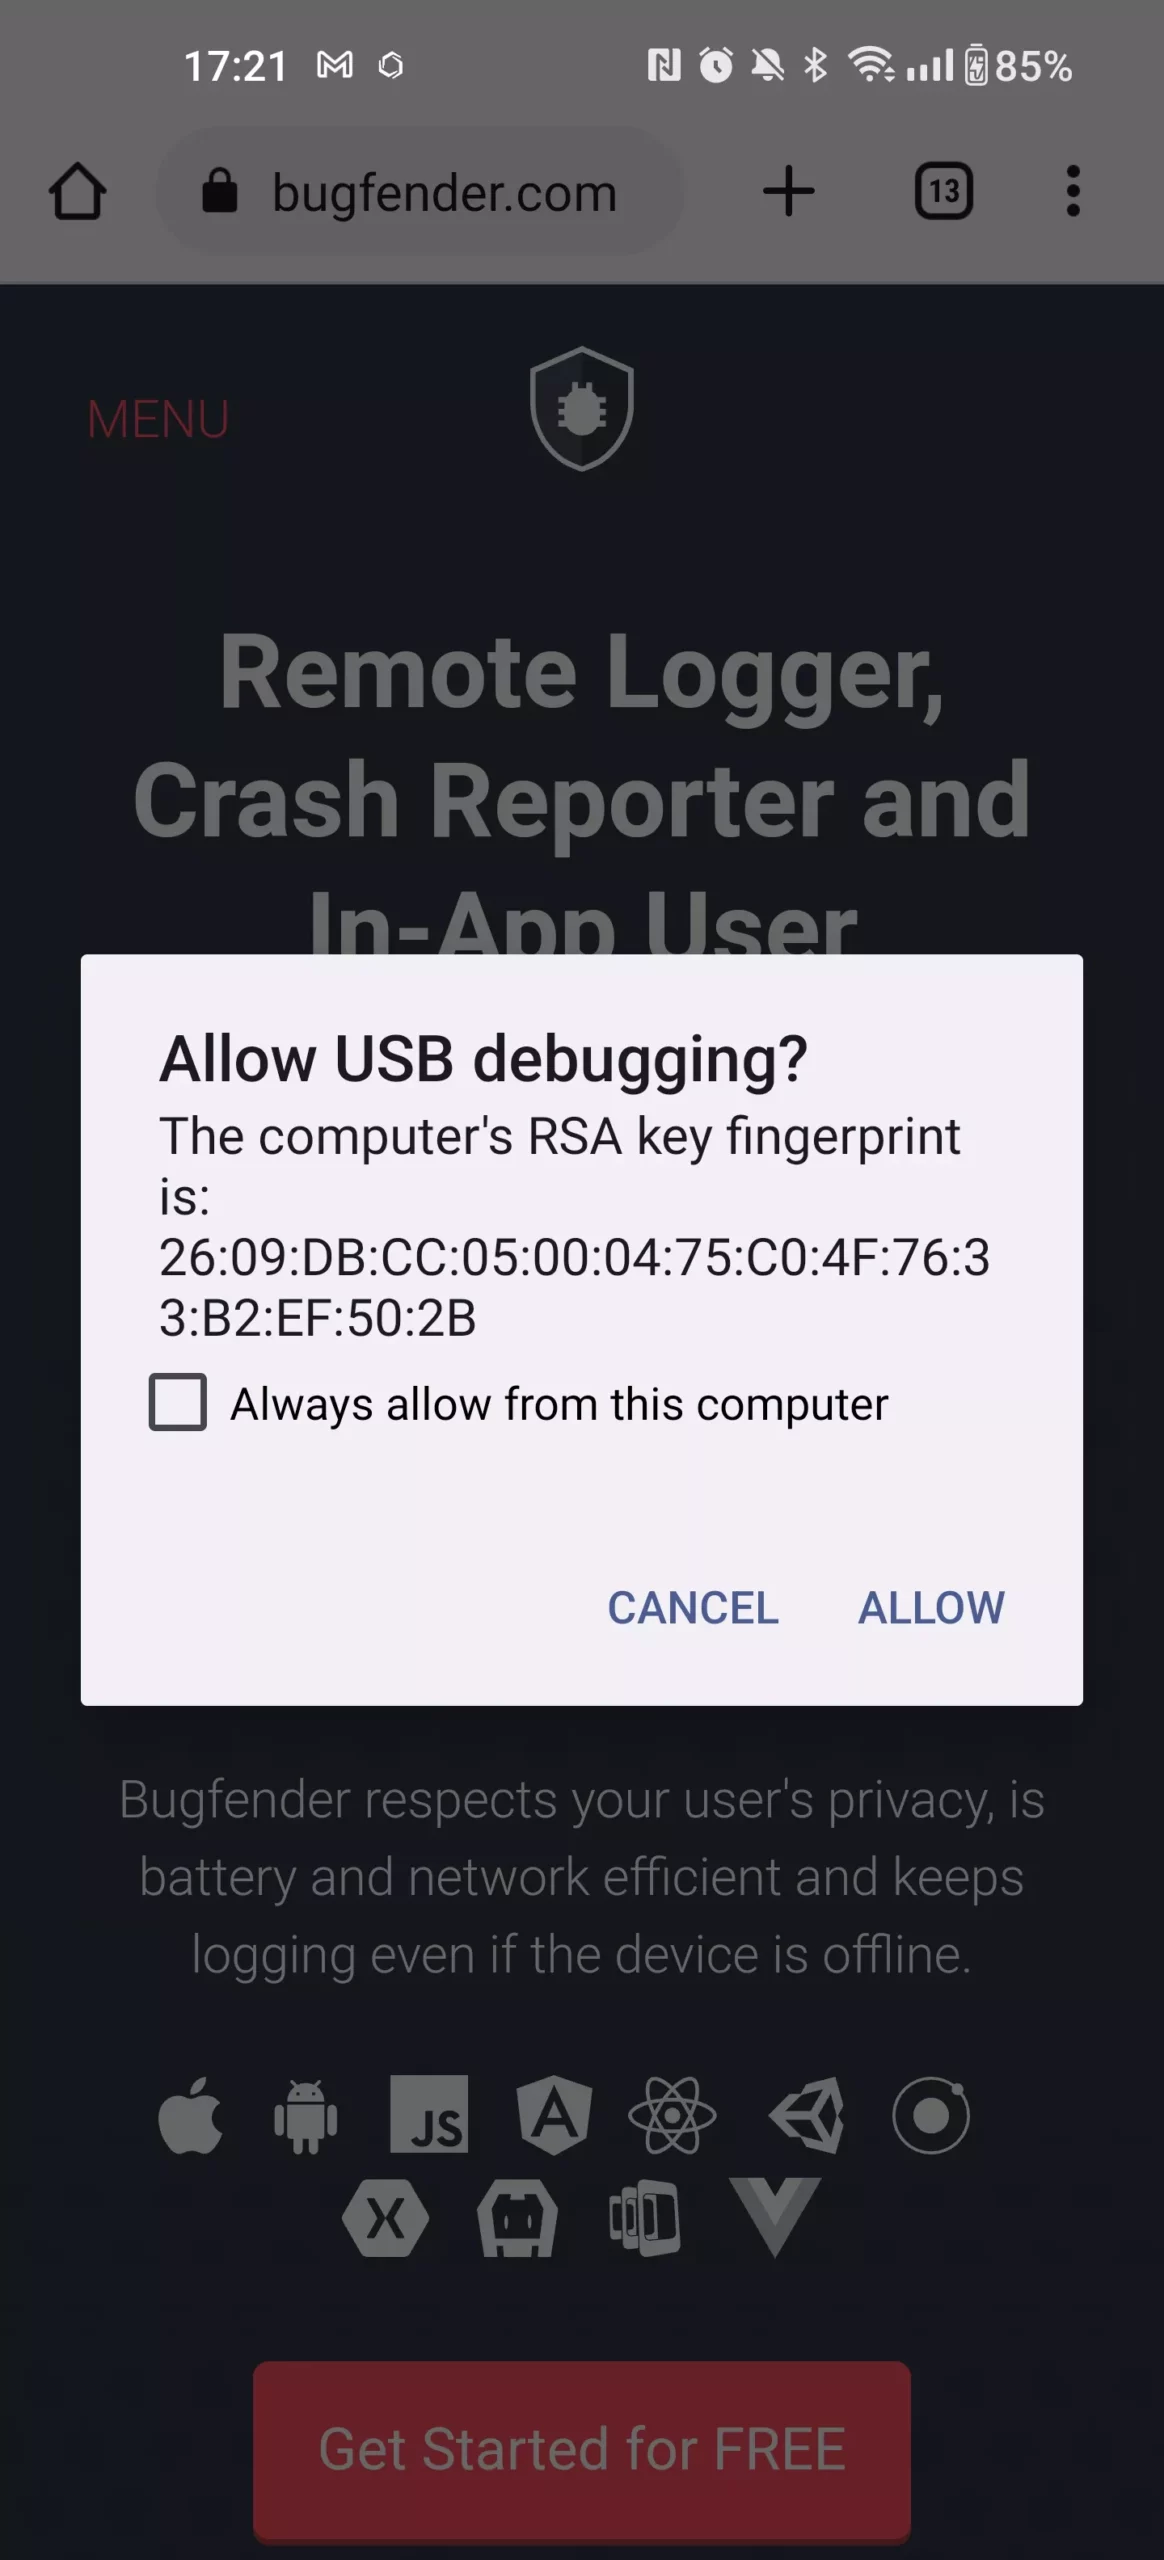
Connect Android Device via USB
- Use a reliable USB cable to connect your Android device to your computer.
- Unlock the device and check for a prompt asking to allow USB debugging.
- Confirm the RSA fingerprint to establish a secure connection.
- On your computer, open a terminal or command prompt and type
adb devices. - If your device appears in the list, the USB connection is active and ready for ADB commands.
Connect Android Device via Wi-Fi (Wireless Debugging)
- Ensure the Android device and computer are on the same Wi-Fi network.
- On Android 11 or higher, go to Settings > Developer options > Wireless debugging.
- Enable Wireless debugging and choose Pair device with pairing code.
- A pairing code and IP address will appear on the device screen.
- On the computer, open a terminal and run the provided
adb pair <ip>:<port>command. - Enter the pairing code to complete authentication.
- Verify the connection with
adb devices— if listed, the device is ready for wireless ADB commands.
For Android 10 and lower: connect wirelessly after a USB setup
- Connect your Android device to the computer with a USB cable.
- Open a terminal or command prompt and type
adb devicesto confirm the connection. - Enable TCP/IP mode with the command:
adb tcpip 5555. - Disconnect the USB cable once the command succeeds.
- Find the device’s IP address under Settings > About phone > Status > IP address.
- On the computer, run
adb connect <device_ip>:5555. - Verify the wireless connection with
adb devices. If listed, the device is now connected over Wi-Fi.
Pair a Device Using the Command Line
For manual pairing, the steps can be done directly from the terminal:
- On the Android device, go to Developer options > Wireless debugging.
- Select Pair device with pairing code to see an IP address, port, and pairing code.
- On the computer, open a terminal or command prompt.
- Run the command:
adb pair <ip_address>:<port>. - Enter the pairing code displayed on your device.
- Once successful, a confirmation message appears.
- Verify by running
adb devices, the device should now appear as connected.
How to Verify ADB Connection
After pairing, we need to check that our device is properly connected:
- On the computer, open a terminal or command prompt.
- Run the command:
adb devices. - A list of connected devices will appear.
- If the Android device shows up with its serial number or IP address, the connection is active.
- If the list is empty, repeat the pairing process or reconnect with USB.
Troubleshoot ADB Debugging Over Wi-Fi
| Issue | Fix |
|---|---|
Device not detected with adb devices | Make sure both computer and device are on the same Wi-Fi network. |
| Connection drops frequently | Check Wi-Fi strength; move closer to the router or use a stable network. |
| Pairing fails with error message | Re-enter the correct IP address, port, and pairing code. |
| ADB server not responding | Restart with adb kill-server then adb start-server. |
| Device not reconnecting after reboot | Reconnect via USB and repeat the wireless pairing process. |
Emulator not showing in adb devices | Ensure the emulator is running, update SDK tools, or restart ADB with adb kill-server / adb start-server. |
How to use ADB
With ADB installed and our device connected, we can now start using commands to interact with Android for development and debugging.
ADB allows us to install apps, transfer files, run shell commands, and capture logs directly from the command line.
It also lets us target specific devices when more than one is connected or troubleshoot common issues like emulators not appearing.
In the sections below, we’ll walk through the most useful ADB commands and show how to use them for debugging and testing in everyday development.
Basic ADB Commands
ADB offers a set of versatile commands that simplify debugging and device management.
With them, we can install or remove apps, transfer files, capture logs, and even control the device directly from the terminal.
Used together, these commands help us test applications, troubleshoot issues, and automate repetitive tasks.
| ADB Command | Purpose |
|---|---|
adb devices | List all connected devices |
adb install <apk> | Install an APK on the device |
adb uninstall <package> | Remove an installed app |
adb push <local> <remote> | Send a file to the device |
adb pull <remote> <local> | Copy a file from the device |
adb shell | Open a command shell on the device |
adb logcat | View real-time system and app logs |
adb reboot | Restart the device (normal, bootloader, or recovery mode) |
adb screenrecord | Record the device’s screen |
adb shell screencap <file> | Take a screenshot of the device screen |
Install Apps Using ADB
App installation is one of the most frequent tasks during development.
Instead of copying APKs manually and tapping through installers, we can install apps instantly from the terminal.
adb install app.apk→ Install a new APK on the device- Test a fresh build of your app without using the Play Store.
- Sideload third-party apps or tools not available through official channels.
adb install -r app.apk→ Reinstall while keeping data- Update your app’s code while preserving user data or saved settings.
- Useful for iterative testing, avoiding the need to reconfigure each time.
adb -s <device_id> install app.apk→ Target a specific device- Deploy an app to the right phone or emulator when multiple are connected.
- Helpful in QA testing labs with several devices attached.
These commands streamline testing, making development faster and less repetitive.
Send Files (Push / Pull)
ADB makes it simple to transfer files between your computer and an Android device.
This is often faster and more reliable than using a USB file explorer or cloud services.
adb push <local> <remote>→ Send files to the device- Push a test APK to
/sdcard/before installing it. - Upload config files or test data for your app.
- Place media (images, audio, video) on the device to simulate user scenarios.
- Push a test APK to
adb pull <remote> <local>→ Retrieve files from the device- Pull log files or crash reports for debugging.
- Save screenshots or recordings captured via other ADB commands.
- Copy databases or app storage for analysis.
These commands save time and make it easier to test, debug, and share results during development.
Run Shell Commands
ADB lets us execute simple shell commands on an Android device, which is useful for quick checks and debugging without opening the UI.
adb shell→ Open a command shell- Navigate folders, run commands directly on the device.
adb shell ls /sdcard/→ List files in storage- Verify that test files or media were pushed correctly.
adb shell pm list packages→ Show installed apps- Confirm if your app or another package is installed.
adb shell df -h→ Check storage usage- Spot memory issues before testing apps.
adb shell top→ View running processes- Monitor performance or resource-heavy apps.
Send Commands to Specific Device in ADB
When multiple devices or emulators are connected, ADB requires us to specify which one should receive a command.
Otherwise, the command may fail or target the wrong device.
- First, run
adb devicesto list all connected devices and note the device ID. - Use
adb -s <device_id> <command>to send a command to that specific device.- Example:
adb -s emulator-5554 install app.apk.
- Example:
This is especially useful in testing labs, where developers deploy apps to multiple phones at once, or when running both a real device and an emulator together.
Take ADB Debugging Further with Bugfender
ADB is an essential tool for installing apps, running commands, and testing Android devices. But using ADB alone can be limiting, especially when we don’t have physical access to devices or need to capture issues at scale.
That’s where Bugfender comes in. Bugfender gives you remote access to logs and crash reports in real time, no matter where your devices are. It complements ADB by making debugging faster, easier, and more reliable, without the hassle of cables or manual setups.
Combine ADB with Bugfender, and you’ll fix bugs faster, streamline your workflow, and deliver the seamless app experience your users expect.
Expect The Unexpected!
Debug Faster With Bugfender

Aleix Ventayol
Aleix is a Full Stack problem solver, with a huge amount of experience in multiple technologies, there’s almost nothing he can’t do.