6 Minutes
How to Install Jenkins in Ubuntu
Fix Bugs Faster! Log Collection Made Easy
New: We’ve just released a new ebook: the Jenkins Starter Guide, which contains all of the information in this series of four posts and more. Head on over to our Resources page to download.
In case you missed our first post, or if you aren’t sure just what Jenkins or CI is, head back and read: What Is Jenkins and Why Should You Be Using It?
If you’re getting started with Jenkins, there are many things to consider before you hit download. You have to choose where to run Jenkins: on hardware that you maintain yourself or through a hosting service. You should work with your team to decide on the best option for your needs.
As a fully remote lifestyle business, we chose to use Amazon Web Services on a t2.nano machine type with Ubuntu 16.04, but this configuration can be adapted depending on the use case.
Selecting the Right Machine
Make sure you choose a machine with at least 1GB of RAM. If you don’t have enough internal memory, Jenkins won’t run. For decent performance, 2 to 4GB is ideal.
For Android, we would recommend a t2.medium machine at least. For iOS, you need a Mac, so we would recommend a Mac Mini. Many people find an older Macbook around the office and use it to run Jenkins.
Choosing an Operating System
Jenkins runs on nearly any operating system you can imagine, as long as it can run Java or Docker. For this post I will be using Ubuntu, but you can use whatever operating system suits you best because the steps are very similar.
[random-ad]
How to Install Jenkins
Step 1: Install Jenkins using your package manager.
On Ubuntu you can do this with:
wget -q -O - https://pkg.jenkins.io/debian-stable/jenkins.io.key | sudo apt-key add -
echo "deb http://pkg.jenkins.io/debian-stable binary/" | sudo tee /etc/apt/sources.list.d/jenkins.list
sudo apt-get update && sudo apt-get -y install jenkins
Note: You have other installation options including two different release lines. See https://jenkins.io/download/ to learn the difference between weekly release and LTS (long-term support) options.
Once installed, Jenkins will be running on port 8080. If you are accessing this server remotely, make sure to open the port 8080 in your firewall.
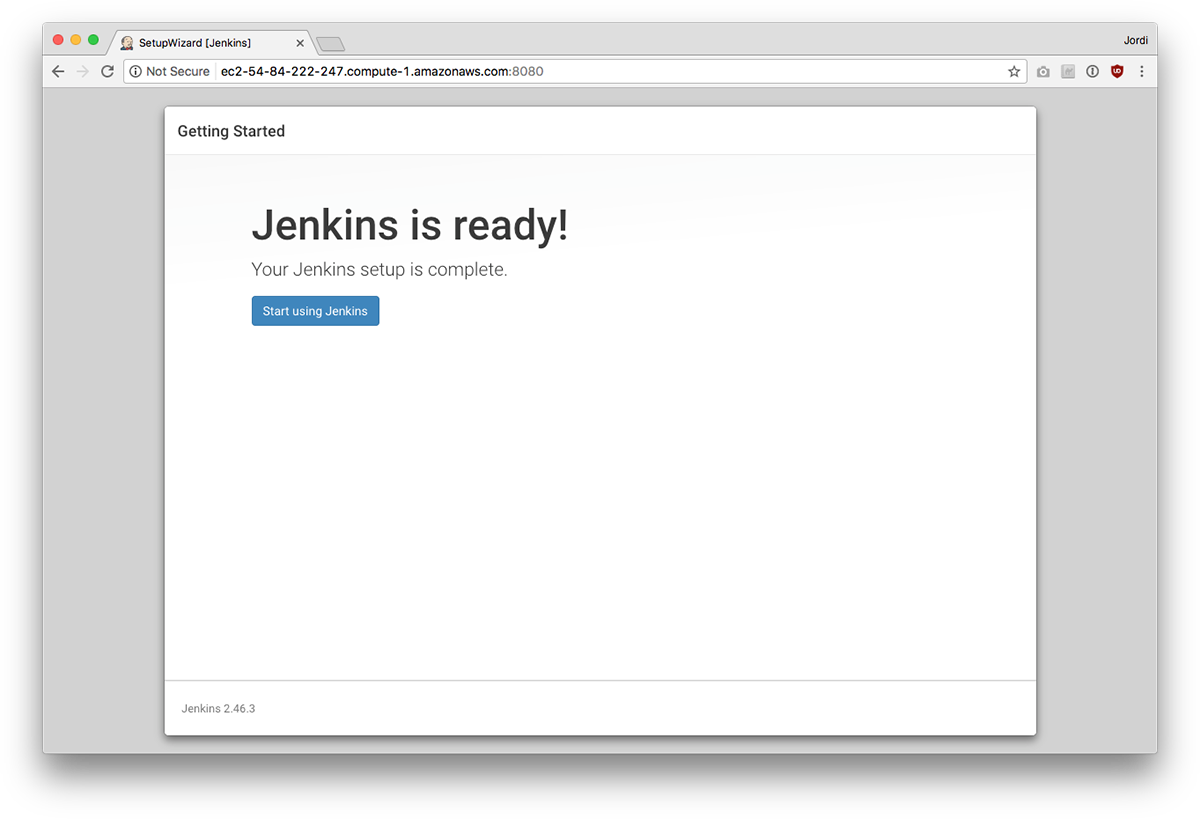
Step 2: Open Your Browser
In your browser, go to http://your-ci-server-name.com:8080. If your machine is running Jenkins, the window should display the setup wizard.
Step 3: Unlocking Jenkins
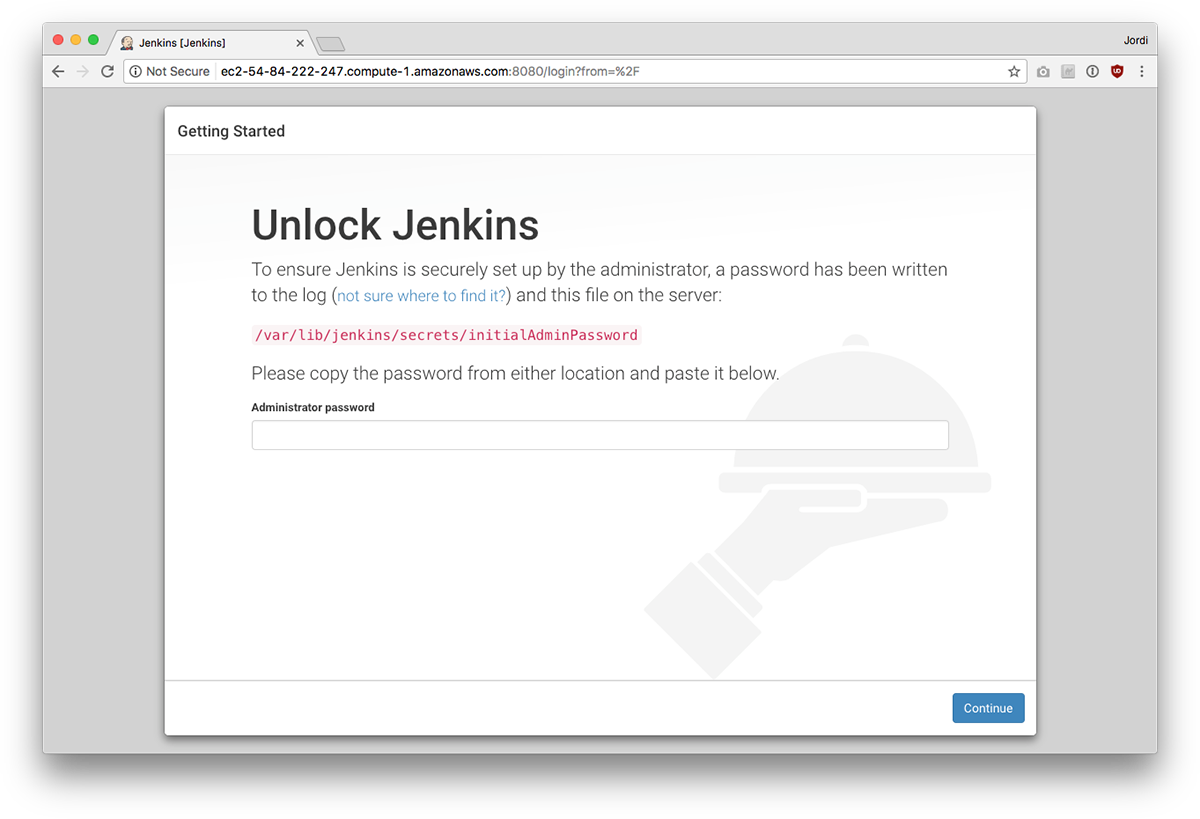
In order to ensure that you’re the real administrator of the machine, the password has been written to a specified log file. In a fresh terminal, type in sudo cat and then paste in the pathway provided on this page in order to get a temporary password. Then you can enter the password in the Administrator password field in your browser. This step is a security measure in case your Jenkins download is publicly accessible from the internet or your company’s network. (For information about more security measures for Jenkins, see “Recommended detour: add SSL to protect your Jenkins installation” below.)
Step 4: Customizing Jenkins Plugins
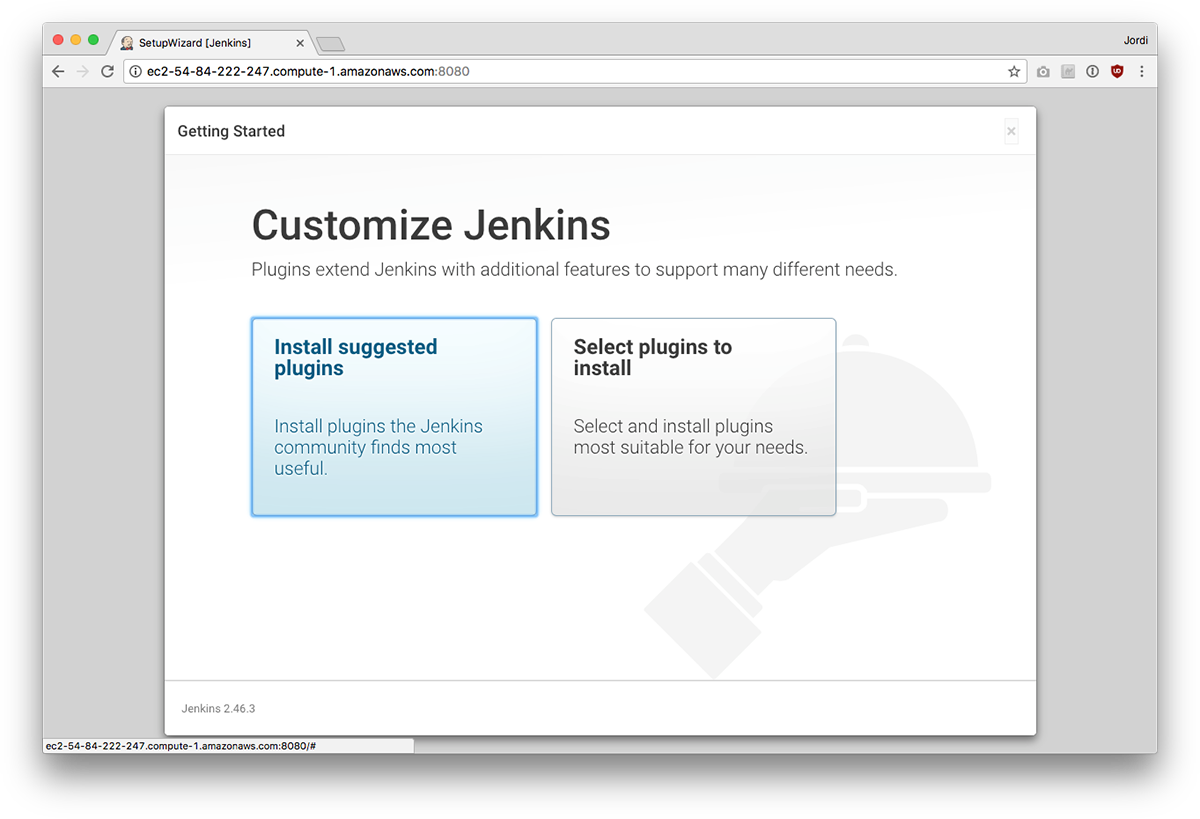
You can go ahead and click the Install the suggested plugins box. This will activate the download of a handful of useful plugins, including Git and some Pipeline plugins. You can always download other plugins as necessary to supplement these pre-selected options.
Step 5: Create Admin Login
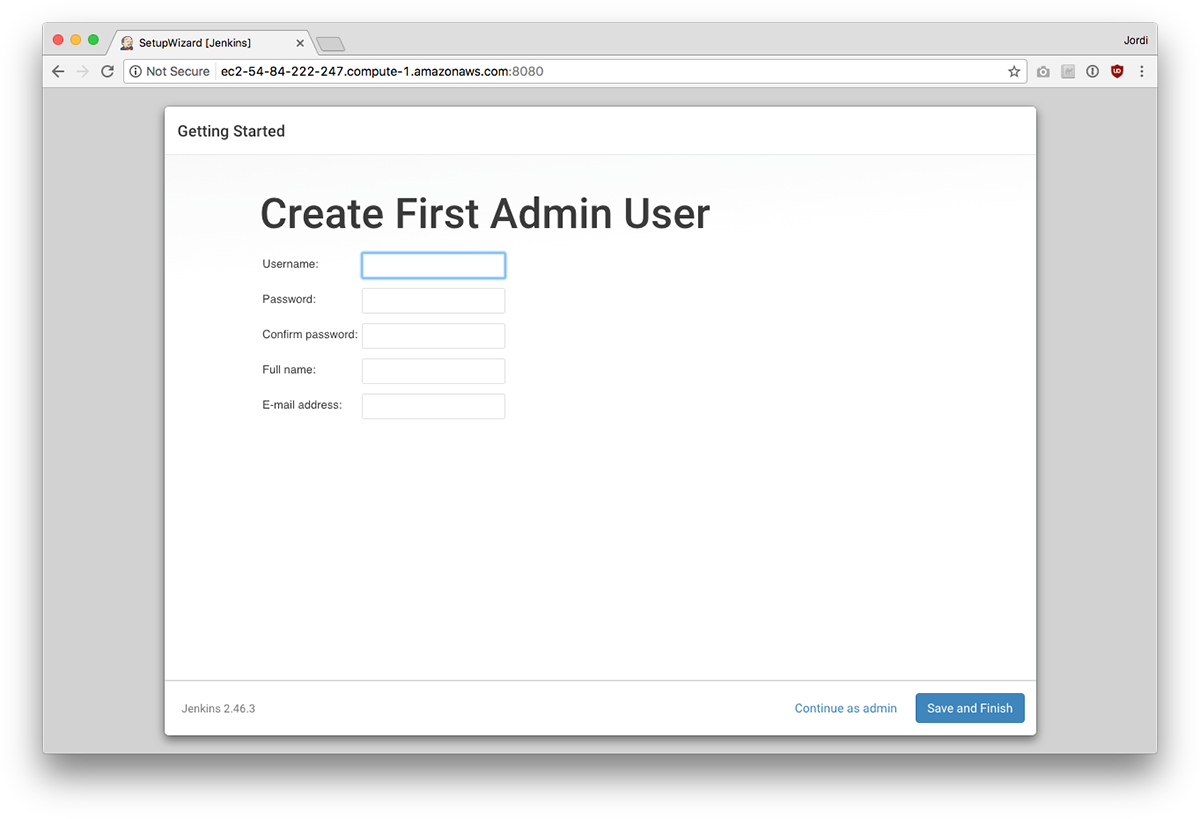
You can create your user account by adding a username, entering a new password, and including a full name and email address. Once you’re in Jenkins, you can choose to enable new users which will allow colleagues to create additional logins as needed.
And that’s it! You’ve installed Jenkins.
Recommended Detour: Add SSL to Protect Your Jenkins Installation
Since Jenkins has access to your application’s source code, we recommend you use encryption. The essence of your product–the code–is likely sensitive and should be kept private. If you are running Jenkins through the internet or on a local network shared with other people, it might be good to protect communications with SSL.
Since the launch of Let’s Encrypt, it’s fairly easy and completely free to get these certificates, so we highly recommend it. Don’t be lazy!
Step 1: If your server is behind a firewall, first make sure you are accepting inbound traffic on ports 80 and 443, and remove access to port 8080.
In order to get SSL working, you’ll first need a DNS name for your server. In this example, we are calling it your-ci-server-name.com. Make sure to edit the configuration files we will be listing here to match the domain name you choose.
Step 2: Then install nginx (sudo apt-get install nginx) and edit your /etc/nginx/sites-enabled/default file to look like this:
upstream app_server {
    server 127.0.0.1:8080 fail_timeout=0;
}

server {
    listen 80 default_server;
    listen [::]:80 default_server;
    server_name _;
    location ^~ /.well-known/acme-challenge/ {
        alias /usr/share/nginx/html/.well-known/acme-challenge/;
    }
    location / {
        return 301 https://$host$request_uri;
    }
}
Once it is installed, ask nginx to load your changes: service nginx reload
This will let the Let’s Encrypt validation service talk to your server and verify that you own it.
Step 3: Now you can install the Let’s Encrypt agent and make an SSL certificate for your server:
sudo apt-get install letsencrypt
letsencrypt
Follow the steps of the wizard and you will end up with your SSL certificates in a directory like /etc/letsencrypt/live/your-ci-server-name.com/.
Now edit again /etc/nginx/sites-enabled/default to use those certificates, add the following lines:
server {
    listen       443;
    server_name  your-ci-server-name.com;
    ssl    on;
    ssl_certificate    /etc/letsencrypt/live/your-ci-server-name.com/fullchain.pem;
    ssl_certificate_key    /etc/letsencrypt/live/your-ci-server-name.com/privkey.pem;

    location / {
        proxy_set_header X-Forwarded-For $proxy_add_x_forwarded_for;
        proxy_set_header X-Forwarded-Proto https;
        proxy_set_header Host $http_host;
        proxy_redirect off;

        if (!-f $request_filename) {
            proxy_pass http://app_server;
            break;
        }
    }
}
Then again ask nginx to load your changes: service nginx reload
Step 4: Now you should have SSL, try opening https://your-ci-server-name.com on your browser. If you followed these steps correctly you will looking at your brand new encrypted Jenkins installation.
Now that Jenkins is fully installed, keep an eye out for our upcoming posts on adding your first Android and iOS jobs.
For more posts in this series, check out:
- What Is Jenkins and Why Should You Be Using It?
- How to Add your First Android Job to Jenkins
- How to Add your First iOS Job to Jenkins
Or for our complete ebook on Jenkins, head over to our Resources page.
This post was co-authored by Sarabeth Flowers Lewis.
Expect The Unexpected!
Debug Faster With Bugfender

Jordi Giménez
I help companies in their IT needs, especially on design and development of their IT strategy: web, mobile and back-end. Still a developer at heart.