11 Minutes
iOS App Testing: How to Test an iOS App on iPhone
Fix Bugs Faster! Log Collection Made Easy
It’s one thing to build an app. It’s another to make sure it actually works the way people expect – on real iPhones, in the wild, under all kinds of conditions. That’s where iOS app testing comes into play. Crashes, broken layouts… these are the kinds of things that can tank your reviews fast. If you want to avoid that, you need to test the app properly. And that’s exactly what we’re going to walk you through in this short guide.
Let’s break down how to do it right.
Table of Contents
Why iOS Mobile Application Testing Is Vital
You don’t have to look far to see what happens when iOS testing gets skipped or rushed. And no, that’s not some theoretical worst-case. It’s already happened to big names.
Take Final Fantasy: Crystal Chronicles Remastered Edition. Square Enix released the iOS version a while back, but later pulled it entirely. The issue was a bug related to Apple’s in-app purchase changes, which broke the game’s access to paid content. That bug slipped through whatever internal process they had, and because of how tightly purchases were baked into the game’s structure, they couldn’t fix it without a full overhaul. They had to shut it down. It’s a rough example, but it makes the point.
That’s why everyone, from indie developers working solo to massive teams pushing weekly builds, needs to pay extra attention to testing on real iPhones. Especially now, when the App Store is more crowded than ever. In April 2025 alone, over 43,000 mobile apps were released through Apple’s store. Getting lost in that sea is easy. Getting booted because your app crashes on launch is even easier.
You’ll find that most developers who stay afloat rely on TestFlight. It’s Apple’s official tool for sending beta versions of your app to testers before the public sees it, and that’s the route many top apps take. Take Clever Cleaner: Free iPhone Cleaner, for a recent example, it went through TestFlight during its development. The team used it to test across several real iPhone models, smoothing out UI glitches and crashing edge cases. That early cleanup paid off. The app climbed into the top ranks of the Productivity category at a time when there were more free iPhone cleaners than ever on the App Store.
Competition in most categories is tight right now, so you need every advantage you can put in place before launch. And iOS testing can be that kind of advantage.
Manual vs Automated iOS Testing
Before we go into how to test iOS app the right way, we want to quickly mention that testing usually splits into two main types: manual and automated. Both have their place, and both matter; you’re probably going to need both.
- Manual testing means opening the app on an actual iPhone and walking through it like a real user would. Tap buttons. Scroll through screens. Change orientation. Try it on low battery. See what happens if you turn off Wi-Fi in the middle of a signup flow. This is how you spot the odd visual glitches, animation lag, or layout issues that only show up on real hardware. It’s also the best way to check things like VoiceOver support or dynamic type. No tool gives you a clearer sense of the user experience.
- Automated testing handles the parts you don’t want to repeat yourself. Write a script that launches the app, logs in, fills out a form, and checks the result. That’s a basic test case, but it runs in seconds and doesn’t miss details. There are a lot of tools that help with automation. If you’re staying in the Apple ecosystem, XCTest and XCUITest are built into Xcode, but we’ll talk more about those a bit later.
The difference is pretty clear once you start doing both. Manual tests catch the weird, real-world stuff you never thought to automate. Automation saves you from having to click through the same login flow a hundred times during development.
How to Test an iOS App on an iPhone (Step-by-Step)
Alright, now let’s get into the more practical side of things. Let’s walk through the main steps, start to finish.
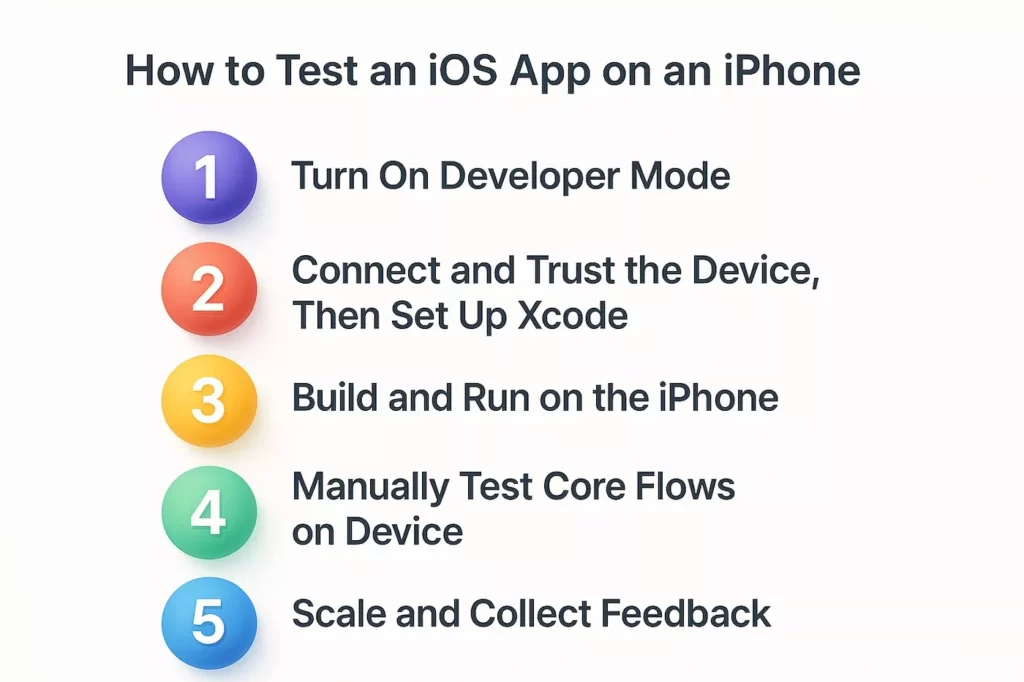
1. Turn On Developer Mode
If you’re testing on an iPhone running iOS 16 or later, this is the first thing to check. Without Developer Mode turned on, your phone will block any apps coming from Xcode (even if it’s your own app on your own phone).
To enable it, unlock your iPhone and head to:
Settings > Privacy & Security > Developer Mode
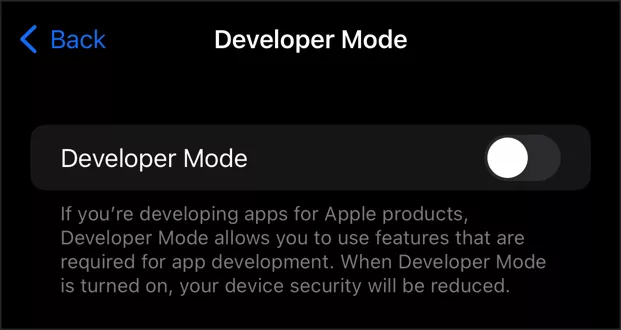
You’ll see a switch at the bottom of the screen. Tap it, then follow the prompts. Your phone will probably restart, and after that, you’ll get a confirmation popup. Use “Turn On” when it comes back up.
That’s it. You’re ready to install builds from your Mac. If you skip this step, Xcode will try to install the app but fail silently, or throw a vague “could not launch app” error that wastes a lot of time.
2. Connect and Trust the Device, Then Set Up Xcode
Once Developer Mode is on, plug your iPhone into your Mac using a Lightning or USB-C cable. You can also pair it wirelessly later, but for the first connection, a cable is easier and more reliable.
When the phone connects, unlock it and you’ll see a popup asking if you want to trust this computer. Tap Trust, then enter your passcode. Without doing that, Xcode won’t be able to talk to your device.
Now open up Xcode. If this is your first time setting things up, go to Settings > Accounts and sign in with your Apple ID. You don’t need to be in the paid Apple Developer Program just to run apps on your own device, but if you are enrolled, this is where you link your developer account.
With Xcode open, look for your iPhone in the top bar, in the Run Destination menu. If it shows up as “iPhone” or something with your name on it, you’re good. If not, click Window > Devices and Simulators, and make sure your phone appears in the list.
Xcode might ask you to register the device with your team or fix signing issues. Just follow the prompts – it usually takes one click. Once that’s done, your iPhone is ready for testing.
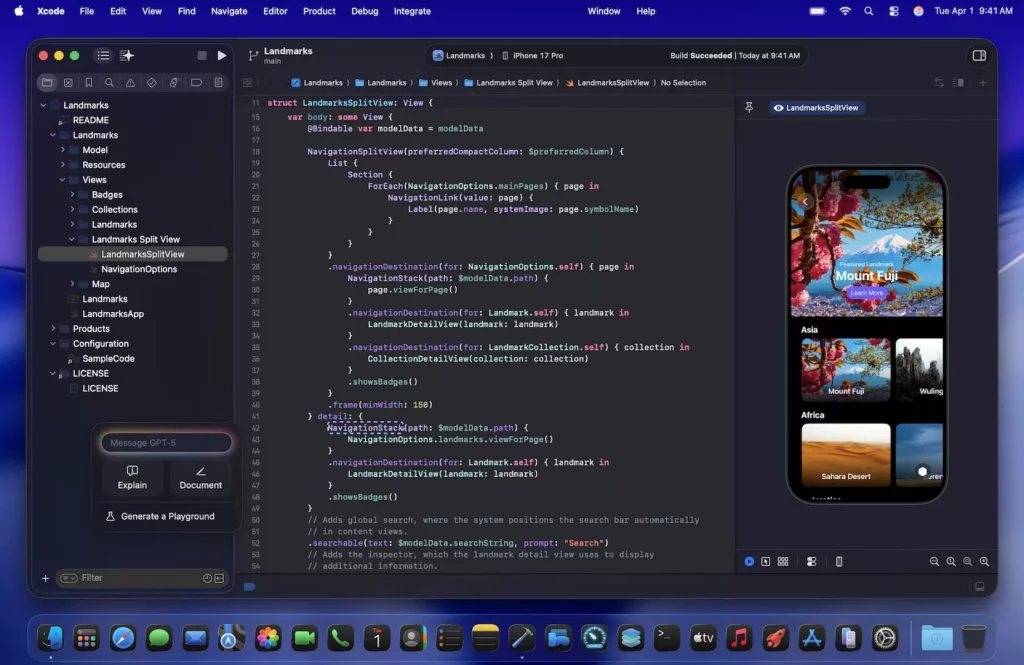
3. Build and Run on the iPhone
Now that your iPhone is trusted and visible in Xcode, it’s time to push the app to the device.
In Xcode, check the top left corner – there’s a dropdown next to the Run and Stop buttons. Click it and select your iPhone from the list. It should show up by name. If it’s not there, go back to Window > Devices and Simulators and make sure it’s recognized.
Once you’ve got your device selected, press ⌘R (or click the ▶ Run button). Xcode will start compiling your app, signing it with your credentials, and installing it on your iPhone.
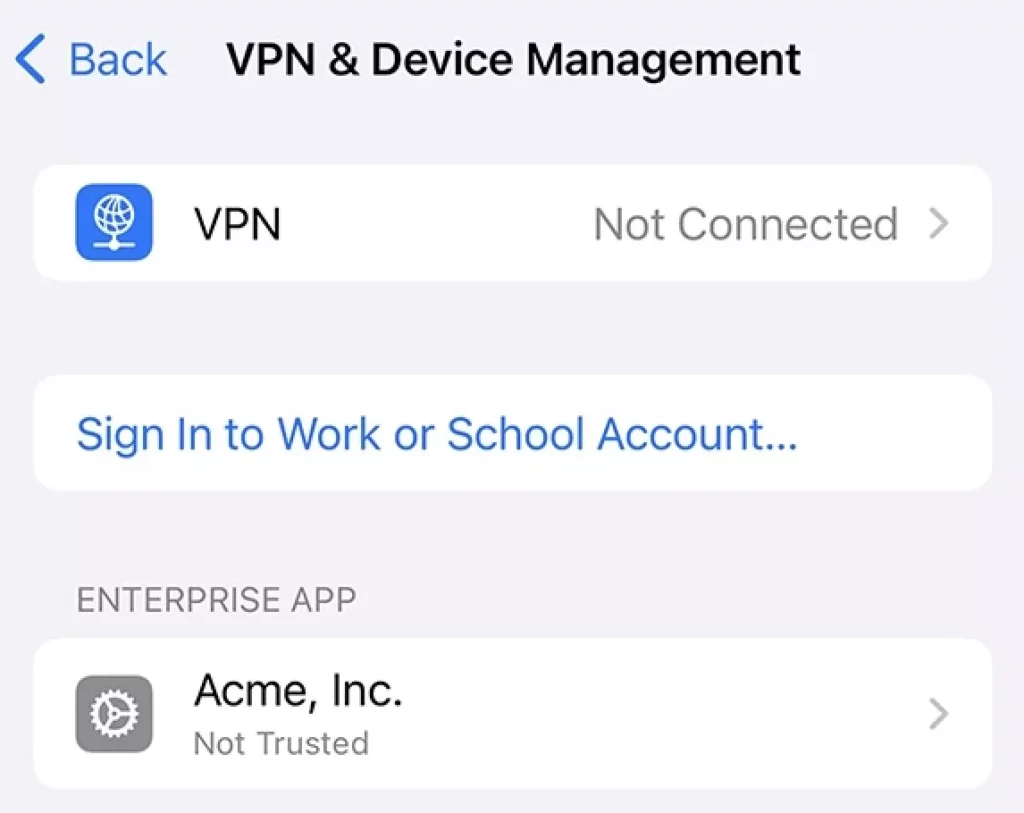
The first time you do this, you might see a pop-up on your iPhone saying the app is from an untrusted developer. That’s normal. Head to Settings > General > VPN & Device Management, tap your Apple ID, and trust it.
After that, your app should launch automatically on the phone. You’ll also see the icon appear on your home screen, like any other app you’ve downloaded.
If something fails during the build, Xcode usually tells you why. It might be a missing permission or just a typo in the code. Check the Issue Navigator (⌘4) to troubleshoot.
4. Manually Test Core Flows on Device
Once your app is running on the iPhone, that’s only the start. Now’s the time to go hands-on and test how the app actually behaves – action by action.
Walk through every major flow like a first-time user. Open the app, sign in, swipe through tabs, complete a task, maybe trigger a notification or two. If your app pulls content from the web, test how it handles a slow connection. Switch to airplane mode mid-session. Rotate the phone. Lock and unlock it. Tap fast and out of order.
This is where real device testing shows its value. Simulators won’t catch the keyboard covering your submit button on a small screen, or how bad your scroll feels on a slightly older iPhone.
On actual hardware, you can feel animation jank and hear audio lag.
Also, don’t skip accessibility. Try adjusting font sizes. and turn on VoiceOver. You might find missing labels or cut-off text that looked fine in the default setup.
The goal here is awareness. You want to catch the stuff users would complain about in the first 30 seconds, before they ever hit the App Store review button.
5. Scale and Collect Feedback
And finally, once the app works on your iPhone and the basics feel solid, you’ll want to go wider. It’s one thing to test an app yourself. It’s another to see how it performs in the hands of dozens (or even thousands) of other users.
Start with the already mentioned TestFlight. This is the go-to for anyone who needs real feedback before pushing to the App Store. You can invite up to 100 internal testers instantly (great for your team), and up to 10,000 external testers via email or public links. TestFlight makes it simple: upload a build to App Store Connect, write a short description of what to test, and send out invites.
Testers install your app through the TestFlight app, and from there they can leave feedback, take screenshots, and automatically send crash reports. It all gets funneled back into App Store Connect for you to review.
If you want to push things further, this is also a good time to bring in automation. Tests written with XCTest, XCUITest, or tools like Appium can now run on each build automatically. Most teams wire this into their CI setup (Bitrise, GitHub Actions, etc), so every time someone pushes new code, the tests run right away.
Whether it’s people using the app or scripts hammering it in the background, this is how you catch issues before they go live. Real feedback, on real devices, from real usage – that’s what gives you actual confidence in your app.
Using Bugfender for Real World iOS Testing
Testing on real iPhones helps you catch most issues before release, but once your app is in the hands of real users, new bugs can still appear. That is where Bugfender comes in.
Bugfender extends your testing process beyond the lab by showing you exactly what is happening on users’ devices in real conditions. It captures detailed logs, crashes and user feedback from your TestFlight builds or App Store releases, allowing you to understand what led to a problem even if you cannot reproduce it yourself.
When a tester reports that something just stopped working, you can open Bugfender and see the complete picture: the device type, iOS version and the exact sequence of actions that caused the issue. This makes debugging faster and gives you confidence that you are fixing the right problems before your next build.
Used together with Xcode and TestFlight, Bugfender closes the feedback loop between development, testing and real world use. It helps you see, understand and resolve issues before your users ever notice them.
Final Thoughts
As you can see, there’s nothing too mysterious about iOS application testing. The tools are there, the steps are clear, and once you’ve done it a few times, it becomes part of the routine.
But even though it’s not complicated, it still takes time, attention, and a bit of discipline. Skipping it (or rushing through it) usually costs more later.
And here’s the thing: most users won’t give your app a second chance. According to recent studies, 70% of users will abandon an app if it takes too long to load. Another 67% will switch to something else if it takes too many steps to find what they need. So you could build something amazing- great design, everything in place – but if it crashes once or hides core actions behind six taps, people move on. You don’t get to explain your way out of a bad first impression.
That’s why testing on real iPhones, under real conditions, matters. Any app can look good in a simulator. The apps that survive in the App Store are the ones that actually work in people’s hands.
If you’re serious about shipping something users will trust and stick with, iOS application testing is part of the job.
Expect The Unexpected!
Debug Faster With Bugfender

Aleix Ventayol
Aleix is a Full Stack problem solver, with a huge amount of experience in multiple technologies, there’s almost nothing he can’t do.