
11 Minutes
How to Log the Web Vitals Of a Next.js App Using Bugfender
Fix Bugs Faster! Log Collection Made Easy
Next.js is a complete React framework that provides a rich experience for developers in building web applications. You get a fast and reliable refresh on code changes, support for TypeScript and the ability to create a hybrid static and server-side rendered page. The file system and API routing features make it a go-to React solution for server-side applications.
Another bonus of Next.js is its in-built support for web application analytics. It provides data based on a set of web vitals and if you have deployed your Next.js application on Vercel, you can access this information with zero configuration. Simply go to the ‘Analytics’ tab of your project and enable it, or you can collect a Next.js application’s performance stats and send them to any third-party tool, like Google Analytics.
This article will show you how to integrate a Next.js application with our Bugfender tool to send any logs, feedback, and crash reports for further diagnosis. We will focus on sending the web vitals and some custom metrics from the Next.js app to Bugfender.
What are Web Vitals and Custom Metrics?
Web vitals are a set of metrics that capture the user experience on a web page. We can capture the following web vitals from a Next.js app:
- First Contentful Paint (FCP)
- Largest Contentful Paint (LCP)
- Cumulative Layout Shift (CLS)
- First Input Delay (FID)
- Time to First Byte (TTFB)
In addition to these web vitals, we can also capture the following custom metrics:
- Next.js-hydration
- Next.js-route-change-to-render
- Next.js-render
If you are new to Next.js performance measurement or web application performance debugging, please check out these links for more details:
Set Up Bugfender
To kick things off, simply create an account with Bugfender. Once logged in, create a Bugfender application for web apps using the Web SDK option. You can follow this step-by-step guide to create a Bugfender application, and you will find an API key ready for you. Keep it safe.
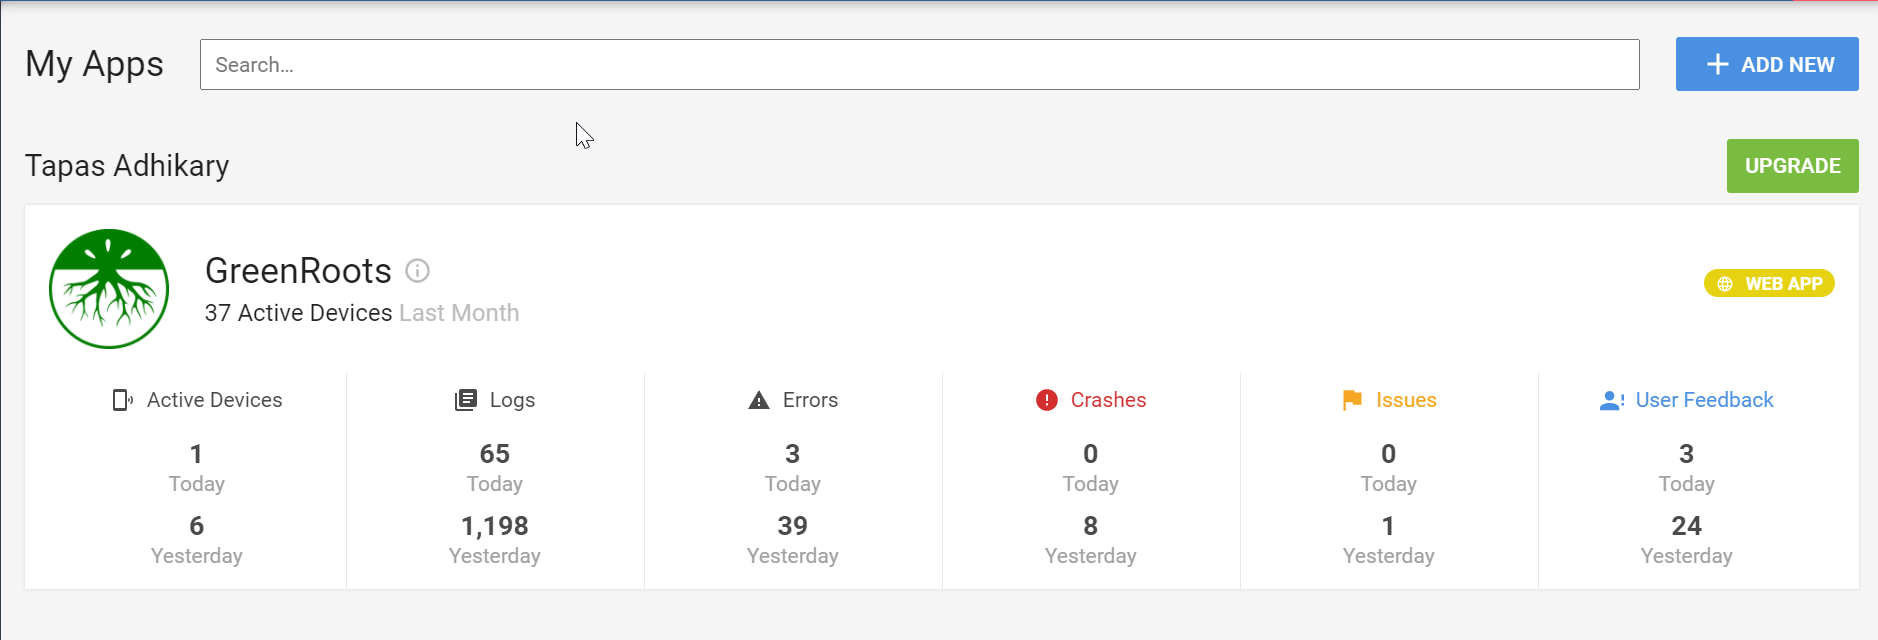
Once you have created your app, the Bugfender dashboard will enable you to keep track of logs, issues, feedback and crashes. This is how my dashboard looks:
Set up a Next.js app
Please feel free to skip this section if you have a Next.js application already. If you don’t, please follow the steps below to create one quickly.
- To set up a
Next.jsapp, you needNode.js(recommend 10.13 or later) installed on your computer. As we will need to do a few performance checks of the app, we need a few functionalities built in. To save our time, we will create aNext.jsapp from an existing template.
Alternatively, You can create an application from scratch using the following command:
npx create-next-app <YOUR_APP_NAME>
- Browse to this GitHub project and use the template to create a
Next.jsproject.

- Give the new project a suitable name (say
nextjs-bugfender) and clone it to your computer drive. Open the recently created directory:
cd nextjs-bugfender- Next, install the required dependencies. Run the following command to install them:
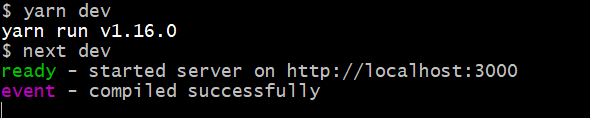
yarn install # Or, npm install- Once the dependencies are installed successfully, use this command to run the application locally:
yarn dev # Or, npm run devYou should see a message in your command prompt confirming that the app is running successfully and is accessible @ http://localhost:3000:
- Finally, access the URL using your browser of choice. You should see a page like this:
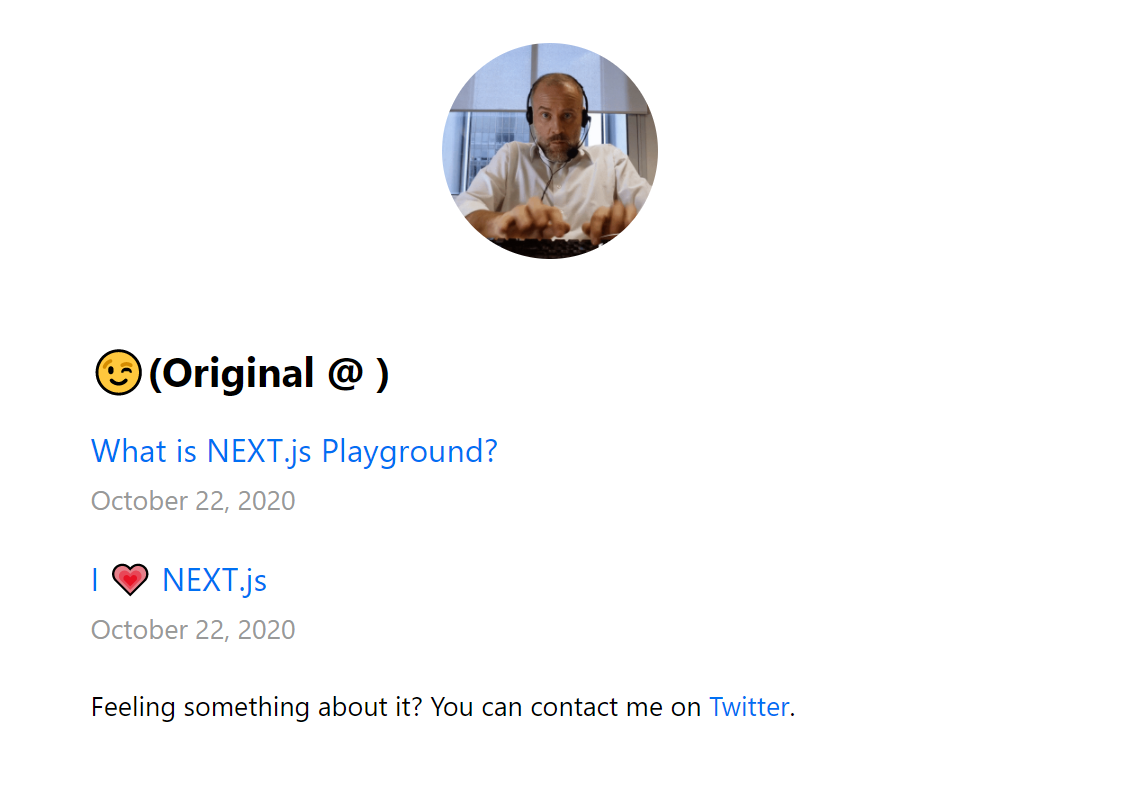
Great! That’s the page from our Next.js application done. At this stage, you should be able to browse through most of the links in that page. However, there are a couple of issues:
- Not all the links work well (for example, the
Twitterlink doesn’t work yet) - The
(Original @)part seems a bit empty.
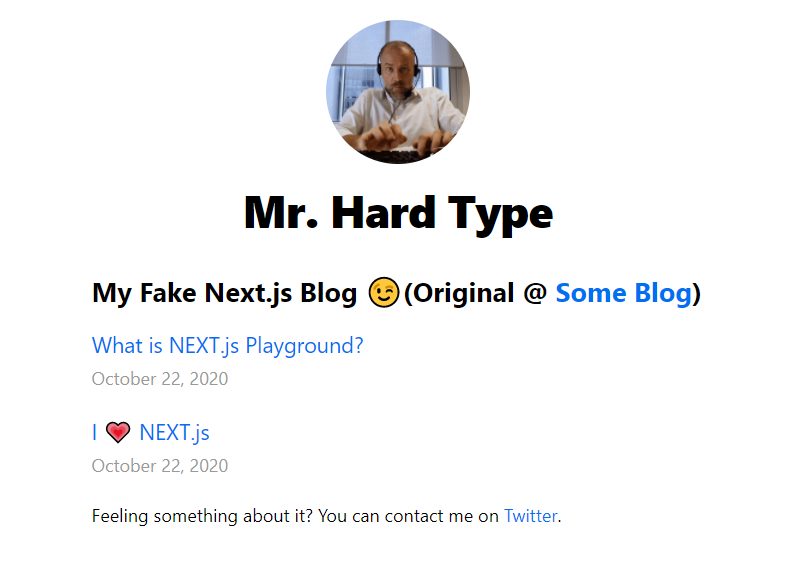
Actually, that second part is intentional. Let us fix it. Create a file .env.local at the root of your project folder with the following content:
NEXT_PUBLIC_NAME=Mr. Hard Type
NEXT_PUBLIC_FAKE_BLOG_NAME=My Fake Next.js Blog
NEXT_PUBLIC_ORIGINAL_BLOG_NAME=Some Blog
NEXT_PUBLIC_ORIGINAL_BLOG_LINK=https://someblog.info
NEXT_PUBLIC_TWITTER_LINK=https://twitter.com/tapasadhikary
Note: You can use the values of your choice. I have used the above values for the purposes of demonstration.
Now restart the yarn dev command and refresh the page to see the changes.
Please Note: It is not necessary to get these details from the environment variables. In this example, we did it for the sake of getting us familiar with the environment handling in Next.js.
Bugfender and Next.js – The coming together story
Bugfender provides client-side SDKs and we will use its web app SDK to integrate it with the app we built a while ago.
A quick point to note here: Bugfender’s client-side SDK uses the browser’s window object. The Next.js framework allows us to build static and Server Side Rendered (SSR) apps, and uses the Node.js environment for rendering. The window object is not defined in the Node.js environment, which means a straightforward integration of Bugfender with Next.js is most likely to culminate in the following error:
window is not defined
But don’t worry. We have a way to get around this error and make Bugfender and Next.js work together with ease.
Install Bugfender SDK
Open a command prompt and the root of the project folder and use this command to install the Bugfender SDK:
yarn add @bugfender/sdk # Or, npm i @bugfender/sdkAdd the Bugfender API Key
We need the Bugfender API key to communicate with its APIs. We do not want to make this API key public. So, please add a new key-value pair in the .env.local file.
NEXT_PUBLIC_BUGFENDER_API_KEY=<YOUR_BUGFENDER_API_KEY>Please note: All the keys in the .env.local file should be prefixed with NEXT_PUBLIC_.
Create the Bugfender Utility
We will now create a utility file to wrap the Bugfender APIs. This utility is to help us export a single JavaScript module that also works with Server Side Rendering (SSR) (More on this in a while). Create a folder called util at the root of the project folder, and create a file called NextBugfender.js with the following content:
import { Bugfender } from '@bugfender/sdk'

const NextBugfender = {
    init: () => {
        Bugfender.init({
            appKey: process.env.NEXT_PUBLIC_BUGFENDER_API_KEY,
        })
    },

    log: (...messages) => {
        Bugfender.log(messages.join( ))
    },

    warn: (...messages) => {
        Bugfender.warn(messages.join( ))
    },

    error: (...messages) => {
        Bugfender.error(messages.join( ))
    },

    sendUserFeedback: (key, value) => {
        Bugfender.sendUserFeedback(key, value)
    },

    sendIssue: (key, value) => {
        Bugfender.sendIssue(key, value)
    },

    sendCrash: (key, value) => {
        Bugfender.sendCrash(key, value)
    }

}

export default NextBugfender;
Please Note: We are using the API key from the environment variable (.env.local file) to initialize Bugfender.
Create a Custom App Component
To gather the web vitals and other custom metrics, we need to create a custom app component and define a reportWebVitals function. We can override the default App component by creating a custom App component. We already have the component created under the pages/ folder, so please open the _app.js file and add this following code at the end of the file:
export function reportWebVitals(metric) {
  switch (metric.name) {
    case "FCP":
      sendAnalytics(metric);
      break;
    case "LCP":
      sendAnalytics(metric);
      break;
    case "CLS":
      sendAnalytics(metric);
      break;
    case "FID":
      sendAnalytics(metric);
      break;
    case "TTFB":
      sendAnalytics(metric);
      break;
    case "Next.js-hydration":
      sendAnalytics(metric);
      break;
    case "Next.js-route-change-to-render":
      sendAnalytics(metric);
      break;
    case "Next.js-render":
      sendAnalytics(metric);
      break;
    default:
      break;
  }
}
The reportWebVitals function will be called by the Next.js framework to report the web vitals and other custom metrics. We are calling a function called sendAnalytics() to send the details to Bugfender. Now, let’s take a look at the sendAnalytics() method definition. It’s where the integration takes place:
const sendAnalytics = async ({ name, value }) => {
  // 1. Import the Nextjs Bugfender Util module
  const NextBugfender = (await import("../utils/NextBugfender.js")).default;

  // 2. Initialize the Bugfender service
  NextBugfender.init();

	// 3. Add condition to tackle the metrics
  if (name === "FCP") {
    if (value >= 0 && value <= 2000) {
      NextBugfender.log(
        `${name} value ${value} is in range and the speed is fast.`
      );
    } else if (value > 2000 && value <= 4000) {
      NextBugfender.warn(
        `${name} value ${value} is in a bit out of range and the speed is moderate.`
      );
      NextBugfender.sendUserFeedback(
        "FCP Warning",
        "The speed of loading this page may be moderate."
      );
    }
    if (value > 4000) {
      NextBugfender.error(
        `${name} value ${value} is completly out of range and the speed is slow.`
      );
      NextBugfender.sendIssue(
        "Issue with FCP",
        "The speed of loading this page may be slow. Creating an issue."
      );
    }
  } else if (name === "LCP") {
    // Send LCP related logs, events, etc.
  } else if (name === "CLS") {
    // Send CLS related logs, events, etc.
  } else if (name === "FID") {
    // Send FID related logs, events, etc.
  } else {
    NextBugfender.log(`${name} value is: ${value}`);
  }
};
A few things to note in the above code:
- Next.js supports ES2020
dynamic import()for JavaScript. We can import the JavaScript modules dynamically and it also works with SSR. So first we import theNextBugfender.jsmodule. - Next, we initialize Bugfender by calling the
init()method. - After that, we introduce conditions to check which metric is being reported. Based on the name of the metric we provide the logic of reporting a normal log, warning, error, etc. We also send the user feedback and create issues in Bugfender. Similar to the
FCPmetrics, you may want to add the logic for other metrics as well.
Inspecting the logs into Bugfender
Ok, now we’re all set. As we start using the app, it will also log the metrics to Bugfender. Let us now see a few examples and inspect them.
- Go to your Bugfender dashboard and click on the app you have created in Bugfender. It will take you to the
Logstab. You may see a list of logs collected at different points in time.
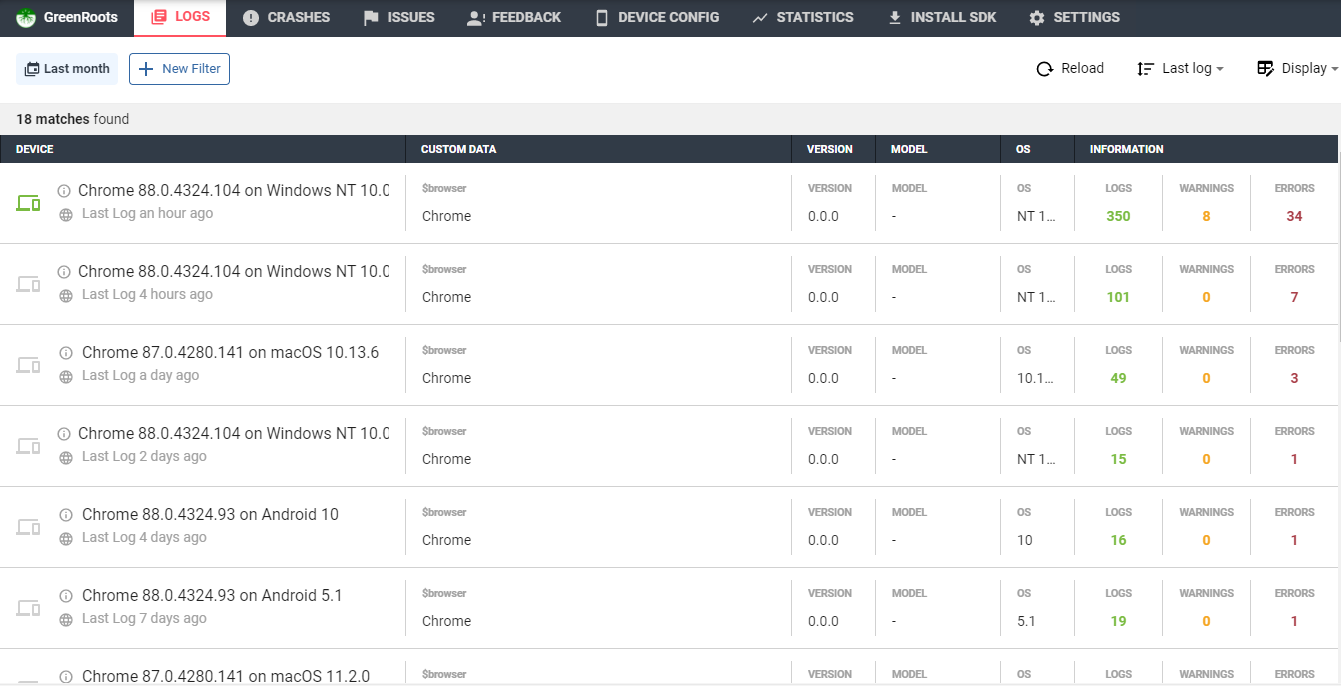
- Click on the most recent log to drill down into it. You will see the logs with the metric data that we have sent from the custom Next.js app.

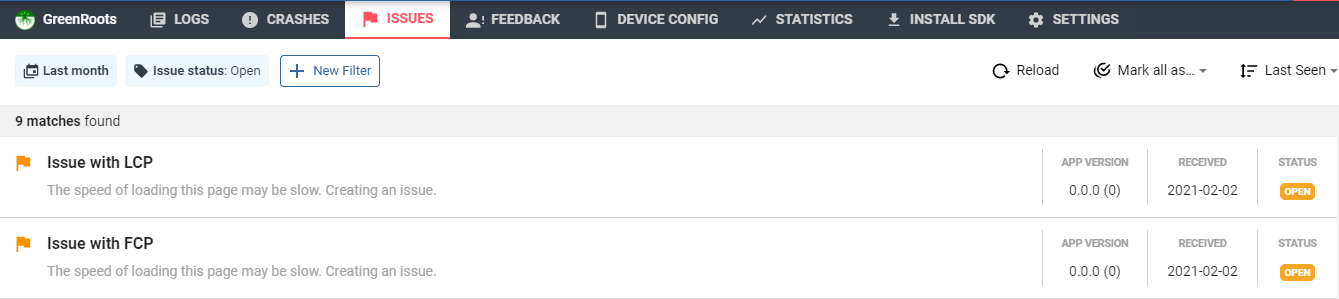
- You can also track the issue created due to a high LCP value. You can send that issue to GitHub to track and fix.

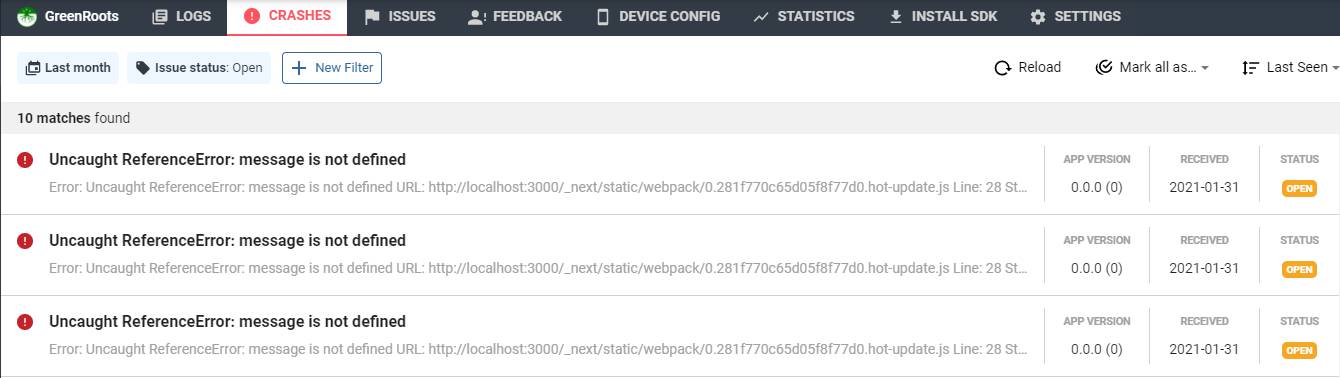
- If your application throws any exception/error, Bugfender logs them automatically under the
CRASHEStab.
- The issues like LCP and others can be found under the ISSUES tab.
- If your application sends any user feedback, you can see them under the
FEEDBACKtab. Here we send a FCP warning as user feedback if the FCP value is in the moderate level.

Ok, that’s it!
We have successfully integrated Next.js application and Bugfender to send the performance metrics logs. Isn’t that awesome?
Where to go from here
All the code used in this article can be found in this GitHub repository. Please feel free to clone/fork/use by following the README file bundled within the repo: https://github.com/atapas/nextjs-bugfender.
Here are a few links you may find helpful as well:
Before we go
Bugfender is a tool that helps you finding errors in your production apps. We strongly believe in sharing knowledge and that’s why we create articles like this one. If you liked it, help us to continue creating content by sharing this article or signing up in Bugfender.
Expect The Unexpected!
Debug Faster With Bugfender

Tapas Adhikary
Tapas Adhikary is a Full Stack Developer. He loves building web apps, mobile apps, and JAMstack solutions. He is a technology blogger who publishes articles for freeCodeCamp, daily.dev, dev.to, his blog.greenroots.info and also in his YouTube Channel. Follow him on Twitter(@tapasadhikary) to stay connected.