20 Minutes
Using Alamofire and integrating it with Bugfender
Fix Bugs Faster! Log Collection Made Easy
Its ability to simplify a variety of tasks such as making HTTP requests, handling responses, and managing network activities, has made Alamofire one of the most popular and powerful networking libraries in Swift. Today we’ll be looking at how Alamofire can be integrated with Bugfender to cut through the complexities of URLSession to streamline networking operations in our apps.
As this is a comprehensive guide, we’ll be starting at the very beginning by going step-by-step through the process of installation and configuration of both Alamofire and Bugfender. If you’ve already done this you might want to jump straight to integration.
Alright then, let’s go.
Installing Alamofire
We’ll start with installing Alamofire by following these steps:
- Go to
File - Then
Add Package Dependencies - Add the Alamofire URL to the search-field (
https://github.com/Alamofire/Alamofire.git)
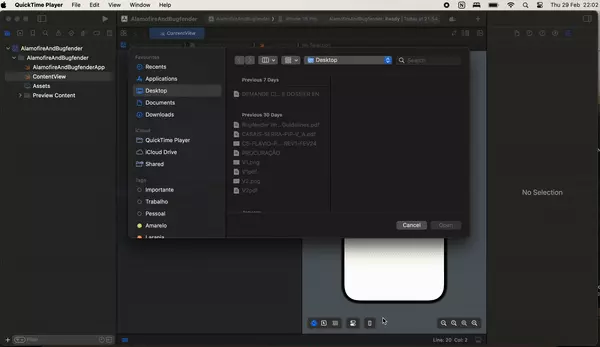
Now we can load Alamofire as a package, as shown below:
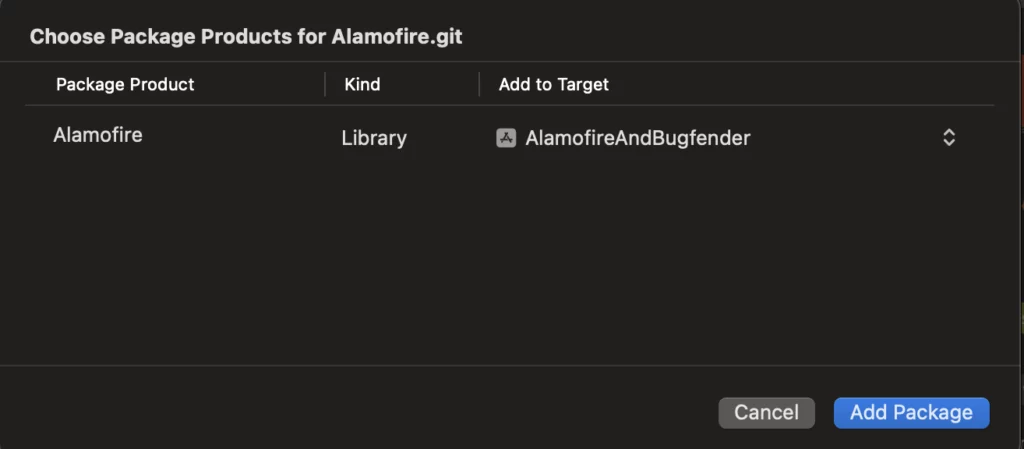
Once loaded, we just need to press Add Package when prompted, like this:
Alamofire should now appear as a package dependency on the left side navigation, as follows:
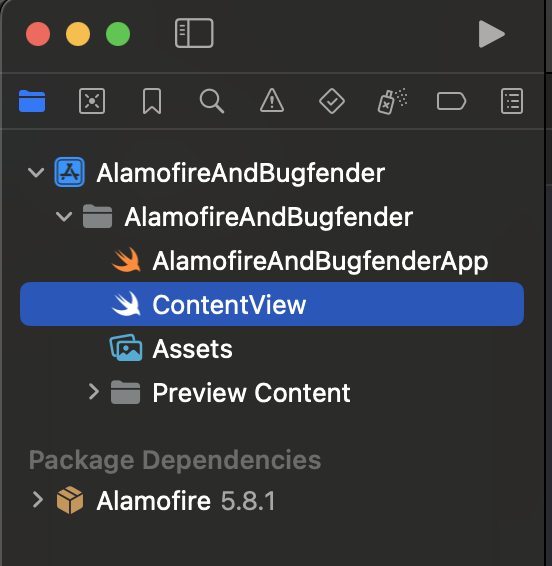
It’s as simple as that, Alamofire is now ready to be used.
Installing and configuring Bugfender
The installation process for Bugfender is essentially the same as Alamofire, however there are a small number of configuration steps we’ll need to complete so we can view all our analytics on the console.
Installing Bugfender
Like Alamofire, we’ll follow these steps to install Bugfender:
- Go to
File - Then
Add Package Dependencies - Add the Bugfender URL to the search-field (
https://github.com/bugfender/BugfenderSDK-iOS)
Once it loads (just like with Alamofire), we can add it as a package, as below:
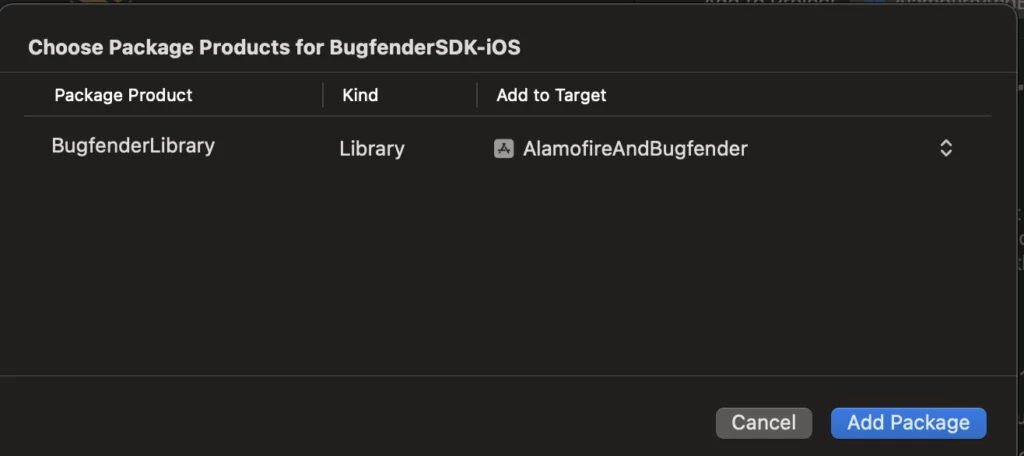
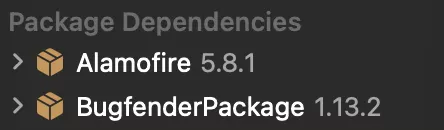
Now we’ll see Bugfender alongside Alamofire as a package dependency on the left side navigation, as shown here:
Configuring Bugfender
To configure Bugfender we’ll need an API Key, and to get this we need to register a Bugfender account, as well as an app, so we can start viewing our logs.
Account and app registration
First we need a Bugfender account, to create one simply open www.bugfender.com – the important links for us at this point are:
- Get Started for FREE
- DASHBOARD
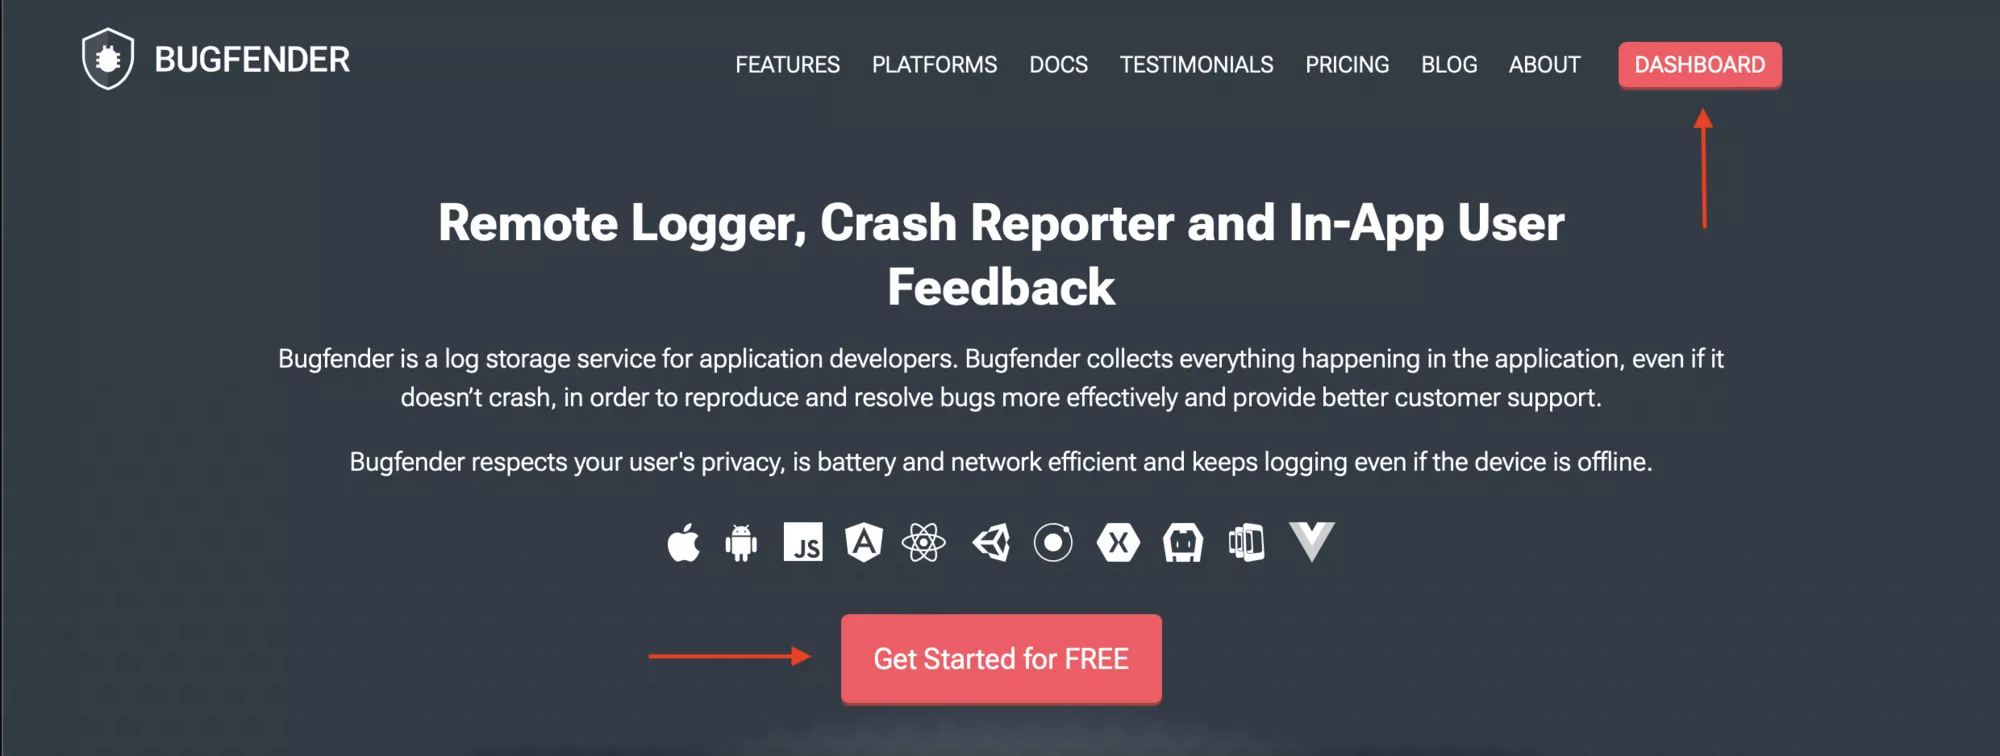
If you don’t yet have an account, tap Get Started for FREE and go through the account creation process. If you already have an account we can head straight for the DASHBOARD.
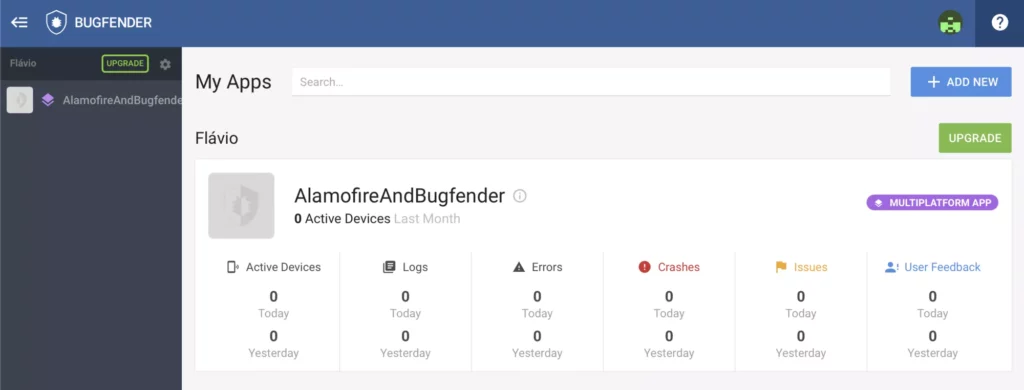
Great, we should now see the empty Dashboard:
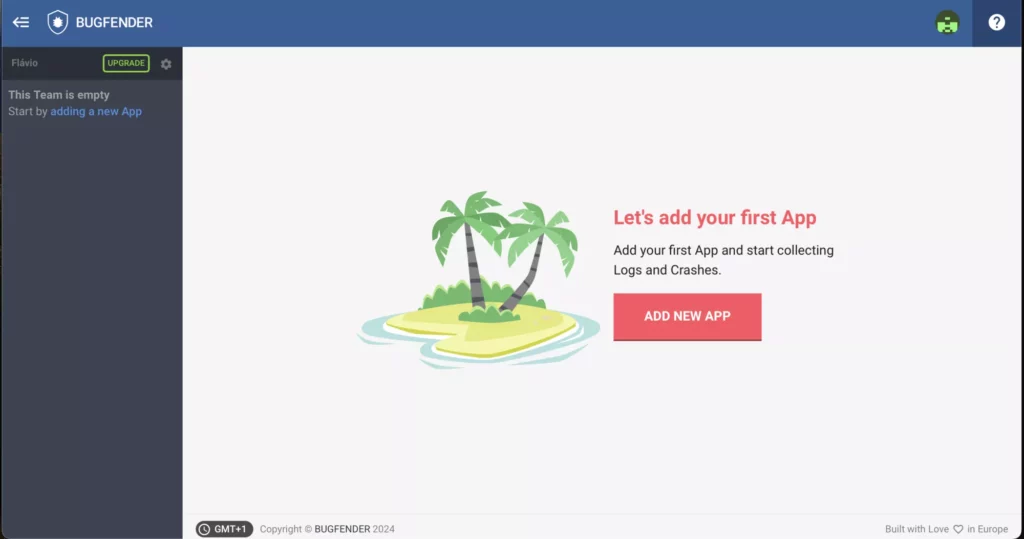
Proceed by clicking ADD NEW APP and following the simple process, like this:
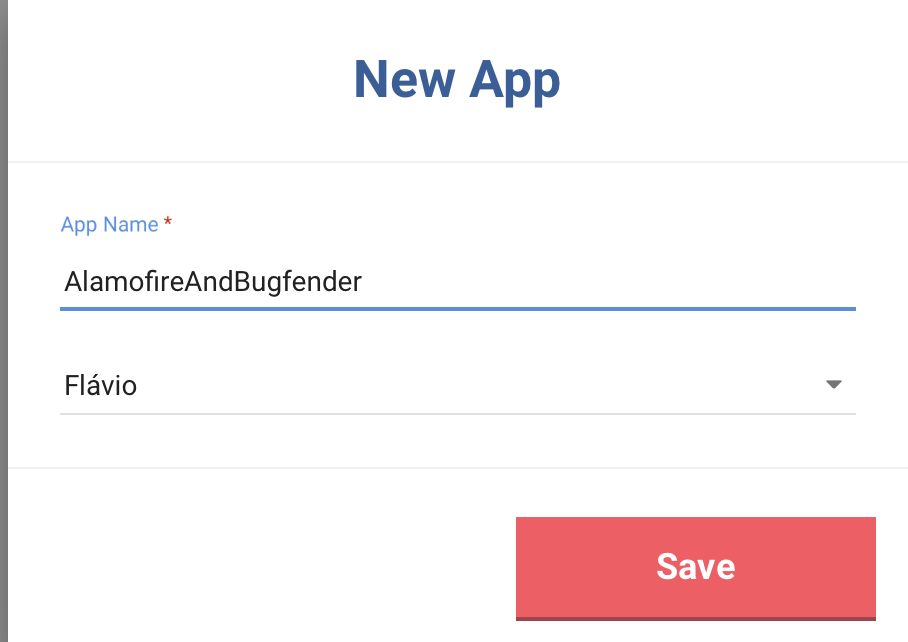
And that’s it!
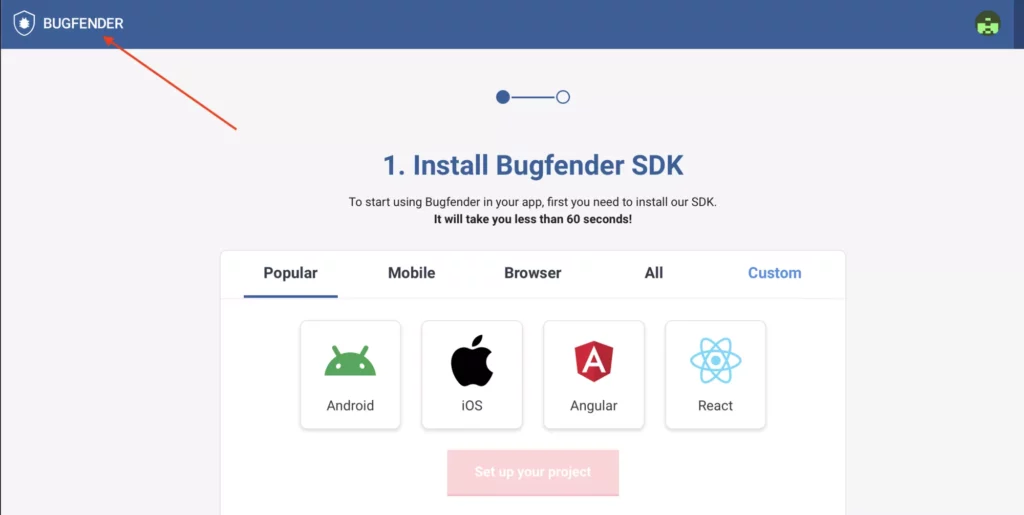
Next we’re presented with a screen for the installation of Bugfender but, since we already installed it with Swift package manager and will be going through the configuration steps next, we can simply click on the Bugfender icon in the top left to go back to our Dashboard:
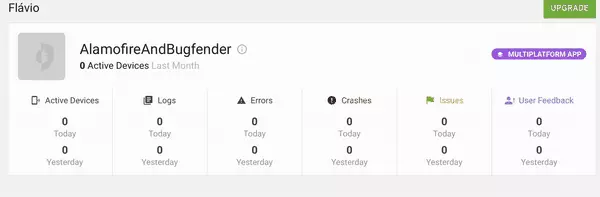
We should now see the app we added, like below:
Finally, we just need to grab the API Key and we’ll find this by hovering over the information icon next to our app and copying it to our clipboard using the button, like this:
Great! We now have everything we need to configure Bugfender.
Client-side configuration
We’ll start the configuration process by creating an IssueTracker class to track all our logs and issues. For this we’ll need a new Swift file, which we’ve called IssueTracker.swift, but it can be named anything as this has no impact on anything else.
Initially our IssueTracker singleton will be configured to be called only when our app starts, as below:
import Foundation
import BugfenderSDK

class IssueTracker {
    static let instance = IssueTracker()

    init() { }

    func configure() {
        Bugfender.activateLogger("myAPIKey") //Your own key here
        Bugfender.enableCrashReporting()

				//Optional: If you want to log all NSLogs automatically
        //Bugfender.enableNSLogLogging()

        //OPtional: If you want to log all UIEvents automatically
				//Bugfender.enableUIEventLogging()
    }
}
We’ve configured our example to log only crashes automatically, although we can opt-in to any of the other automatic logging options as needed.
Now our client is ready, we can configure it on launch by explicitly adding an init to our app, and configuring the client there, as follows:
import SwiftUI

@main
struct AlamofireAndBugfenderApp: App {
    init() {
        IssueTracker.instance.configure()
    }

    var body: some Scene {
        WindowGroup {
            ContentView()
        }
    }
}
Awesome. Now we need to test if the connection was successful, which we’ll do by adding a temporary method to our IssueTracker, like this:
class IssueTracker {
    static let instance = IssueTracker()

    init() { }

    func configure() {
        Bugfender.activateLogger("myAPIKey") //Your own key here
        Bugfender.enableCrashReporting()
        Bugfender.enableNSLogLogging()
        Bugfender.enableUIEventLogging()
    }

    func testLog() {
        bfprint("Test error")
    }
}
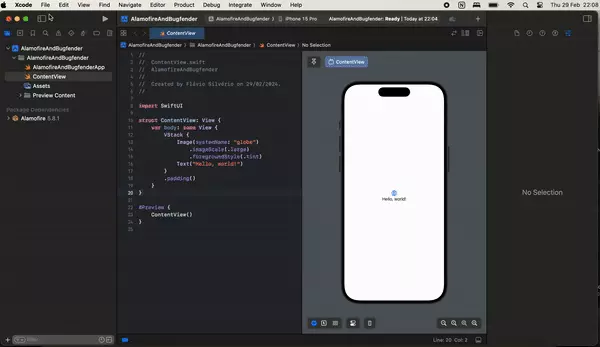
We’ll also add a button on our default View, like this:
struct ContentView: View {
    var body: some View {
        VStack {
            Button {
                IssueTracker.instance.testLog()
            } label: {
                Text("Test Log to Bugfender")
            }
        }
        .padding()
    }
}
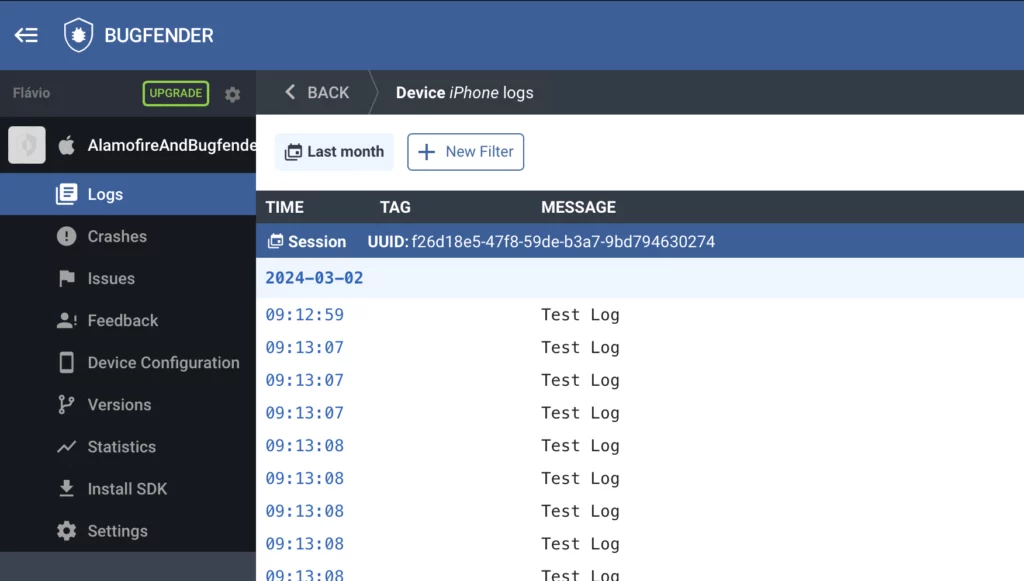
Now if we run the app and tap the button a few times, logs will be sent to our Bugfender project. It might take a few minutes but the message we just added should now show in our log, as below:
Note: If you have any installation issues, please refer to the documentation here.
Great work! We’ve now successfully installed and configured Alamofire and Bugfender, and we can start developing our APIClient and integrating both. Exciting!
Integrating logging with Bugfender and Alamofire
Now, we could manually integrate Bugfender with our Alamofire requests but there’s a more advanced way that will save us a lot of time and effort, that’s EventMonitor.
EventMonitor is a protocol provided by Alamofire that allows us to add customization to any event from Alamofire, as well as providing tools to monitor any requests and react to them.
First we need to update our IssueTracker so it can log messages with Bugfender, which we do as follows:
class IssueTracker {
    static let instance = IssueTracker()

    init() { }

    func configure() {
        Bugfender.activateLogger("myAPIKey")
        Bugfender.enableCrashReporting()
        Bugfender.enableNSLogLogging()
        Bugfender.enableUIEventLogging()
    }

    func log(string: String) {
        bfprint(string)
    }
}
Next we’ll create a BugfenderEventMonitor.swift file, and add our EventMonitor to log events using our IssueTracker, like this:
import Alamofire
import BugfenderSDK

class BugfenderEventMonitor: EventMonitor {
    func requestDidFinish(_ request: Request) {
        let message = "Request: \(request)"
        IssueTracker.instance.log(string: message)
    }

    func request<Value>(_ request: DataRequest, didParseResponse response: DataResponse<Value, AFError>) {
        let message = "Response: \(response)"
        IssueTracker.instance.log(string: message)
    }
}
Here we’ve opted for just two methods to log some basic request info, but there are a range of options for event monitoring depending on requirements and a list of them can be found here.
Here’s what we added to create simple logs of all requests on our Bugfender console:

Of course, we still need to add the EventMonitor to our Alamofire session, which we’ll do next when we create our APIClient.
Our APIClient
Our demo project will be an API Client in Swift for the Rick and Morty API, which will have three main resources:
https://rickandmortyapi.com/api/character: From which we can get lists of characters, paged or search, for based on their IDhttps://rickandmortyapi.com/api/location: As above but for locationshttps://rickandmortyapi.com/api/episode: Again, as above but for episodes
Our client will allow us to generate a list of any of these three things, while automatically creating activity and error logs in our Bugfender console. Now let’s configure our APIClient.
Creating and configuring our APIClient
We’ll start by adding a RickAndMortyClient.swift file to our project – our initial configuration will be as shown below:
import Foundation
import BugfenderSDK
import Alamofire

class RickAndMortyClient {
    private let basePath: String
    private var session: Session

    init(with basePath: String = "<https://rickandmortyapi.com/api/>") {
        self.basePath = basePath
        session = Session(eventMonitors: [BugfenderEventMonitor()])
    }
}
Here we’ve added a basepath for our requests, as well as the BugfenderEventMonitor configuration to our Alamofire Session. Now all requests will be logged to Bugfender, as we specified earlier. Now for our models.
Adding our models
Before we add methods that consume Rick and Morty’s REST API to our APIClient, we’ll need to add the models where the API data will be stored.
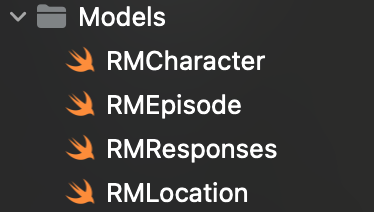
For this we’ll have a ‘Models’ folder, with four files:
- RMCharacter: Character models
- RMEpisode: Episode models
- RMResponses: Response models
- RMLocation: Location models
You’ll notice we’ve added ‘RM’ (for Rick and Morty) to all of them so that character, location, responses, and episode names are available to any of our types, and our related structs are all identified as well, as shown for each below:
RMCharacter:
import Foundation

struct RMCharacter: Identifiable, Codable {
    let id: Int
    let name: String
    let status: String
    let species: String
    let type: String
    let gender: String
    let origin: RMCharacterLocationDetails
    let location: RMCharacterLocationDetails
    let image: String
    let episode: [String]
    let url: String
    let created: String
}

struct RMCharacterLocationDetails: Codable {
    let name: String
    let url: String
}
RMEpisode:
import Foundation

struct RMEpisode: Codable, Identifiable {
    let id: Int
    let name: String
    let airDate: String
    let episode: String
    let characters: [String]
    let url: String
    let created: String

    enum CodingKeys: String, CodingKey {
        case id, name, episode, characters, url, created
        case airDate = "air_date"
    }
}
RMResponses:
import Foundation

struct RMResponseInfo: Codable {
    let count: Int
    let pages: Int
    let next: String?
    let previous: String?
}

struct RMLocationResponse: Codable {
    let results: [RMLocation]
    let info: RMResponseInfo
}

struct RMEpisodeResponse: Codable {
    let results: [RMEpisode]
    let info: RMResponseInfo
}

struct RMCharacterResponse: Codable {
    let results: [RMCharacter]
    let info: RMResponseInfo
}
RMLocation:
import Foundation

struct RMLocation: Codable, Identifiable  {
    let id: Int
    let name: String
    let type: String
    let dimension: String
    let residents: [String]
    let url: String
    let created: String
}
Now we’re ready to add our methods.
Adding methods to fetch data
Now we have our Codable models, we can write the methods to fetch any data as required. We’re demonstrating with a simple version of the client and, as we won’t need any fancy filtering options, our methods will be quite straightforward.
We’ll query for all elements of a certain type on a given page – our initial APIClient with methods will be as follows:
import Foundation
import BugfenderSDK
import Alamofire

class RickAndMortyClient {
    private let basePath: String
    private var session: Session

    init(with basePath: String = "<https://rickandmortyapi.com/api/>") {
        self.basePath = basePath
        session = Session(eventMonitors: [BugfenderEventMonitor()])
    }

    func getCharacters(page p: Int = 0,
                       completion: @escaping (Result<[RMCharacter], Error>)->()) {

        get(urlString: basePath + "character/?page=\(p)",
            type: RMCharacterResponse.self) {
            result in
            switch result {
            case .success(let characterResponse):
                completion(.success(characterResponse.results))
            case .failure(let error):
                completion(.failure(error))
            }
        }
    }

    func getEpisodes(page p: Int = 0,
                       completion: @escaping (Result<[RMEpisode], Error>)->()) {

        get(urlString: basePath + "episode/?page=\(p)",
            type: RMEpisodeResponse.self) {
            result in
            switch result {
            case .success(let episodeResponse):
                completion(.success(episodeResponse.results))
            case .failure(let error):
                completion(.failure(error))
            }
        }
    }

    func getLocations(page p: Int = 0,
                       completion: @escaping (Result<[RMLocation], Error>)->()) {

        get(urlString: basePath + "location/?page=\(p)",
            type: RMLocationResponse.self) {
            result in
            switch result {
            case .success(let locationResponse):
                completion(.success(locationResponse.results))
            case .failure(let error):
                completion(.failure(error))
            }
        }
    }

    private func decode<T: Codable>(type: T.Type, from data: Data?) -> T? {
        guard let data = data else {
            return nil
        }

        do {
            return try JSONDecoder().decode(type, from: data)
        } catch let error {
            print(error)
            return nil
        }
    }

    private func get<T: Codable>(urlString: String,
                                 type: T.Type,
                                 completion: @escaping (Result<T, Error>)-> ()) {
        guard let url = URL(string: urlString) else {
            return
        }

        session.request(url).response() { [weak self]
            dataResponse in
            switch dataResponse.result {
            case .success(let data):
                guard let decodedData = self?.decode(type: type, from: data) else {
                    return
                }
                completion(.success(decodedData))

            case .failure(let afError):
                completion(.failure(afError))
            }
        }
    }
}
Using generics, we have all the networking request logic in the get method, and all the json decoding login in the decode method. That said, if you look closely you’ll notice we aren’t yet handling any errors that might occur – we’ll look at that next.
Integrating our APIClient with Bugfender
We want to send all our errors to Bugfender so they appear on the console together with the logs for all requests that we configured previously.
To do this, we first need to go back to our IssueTracker and update it to log errors into Bugfender, like this:
class IssueTracker {
    static let instance = IssueTracker()

    init() { }

    func configure() {
        Bugfender.activateLogger("myAPIKey")
        Bugfender.enableCrashReporting()
        Bugfender.enableNSLogLogging()
        Bugfender.enableUIEventLogging()
    }

    func logError(error: Error) {
        Bugfender.error(error.localisedDescription)
    }

    func log(string: String) {
        bfprint(string)
    }
}
With that done, we’ll create an Error enum that will be used for all our APIClient errors, as below:
enum RMError: Error {
    case invalidURL(url: String)
    case networkError(code: Int)
    case invalidData
    case decodingError(error: Error)
}
Next we’ll update our get method to handle errors, as follows:
    private func get<T: Codable>(urlString: String,
                                 type: T.Type,
                                 completion: @escaping (Result<T, Error>)-> ()) {
        guard let url = URL(string: urlString) else {
            IssueTracker.instance.logError(error: RMError.invalidURL(url: urlString))
            return
        }

        session.request(url).response() { [weak self]
            dataResponse in
            switch dataResponse.result {
            case .success(let data):
                guard let decodedData = self?.decode(type: type, from: data) else {
                    return
                }
                completion(.success(decodedData))

            case .failure(let afError):
                IssueTracker.instance.logError(error: RMError.networkError(code: afError.responseCode))
                completion(.failure(afError))
            }
        }
    }
Finally we’ll update our decode method to also handle errors, like this:
    private func decode<T: Codable>(type: T.Type, from data: Data?) -> T? {
        guard let data = data else {
            IssueTracker.instance.logError(error: RMError.invalidData)
            return nil
        }

        do {
            return try JSONDecoder().decode(type, from: data)
        } catch let error {
            IssueTracker.instance.logError(error: RMError.decodingError(error: error))
            return nil
        }
    }
That’s it. Now all the logs from our Alamofire APIClient, as well as all our errors, are being logged into Bugfender.
To sum up
In this article we’ve demonstrated how to successfully integrate Bugfender and Alamofire, including:
- Installing both packages – we used Swift package manager but you could use
Cocoapodsor just download the whole packages - Creating a Bugfender project and configuring a Swift project to connect to it
- Adding an
EventMonitorto take care of the vast majority of logs automatically - Implementing specific error scenario logging to make sure all errors are captured
Hopefully you now feel confident to try this yourself.
Expect The Unexpected!
Debug Faster With Bugfender